We may receive a commission when you use our affiliate links. However, this does not impact our recommendations.

Sculpting the Tree Branches
Part 1: Introduction • Part 2: Push and Peel Knife Maneuvers • Part 3: Parting and Pulling Techniques • Part 4: Rounding the Tree • Part 6: Attach to The Base
We’ve reached the final stages of the whittling journey – crafting the tree branches. Let’s start by tracing five or more circles around the tree cone. As you move from the top to the base, widen the spacing between these circles, making them tighter at the top and broader towards the bottom.

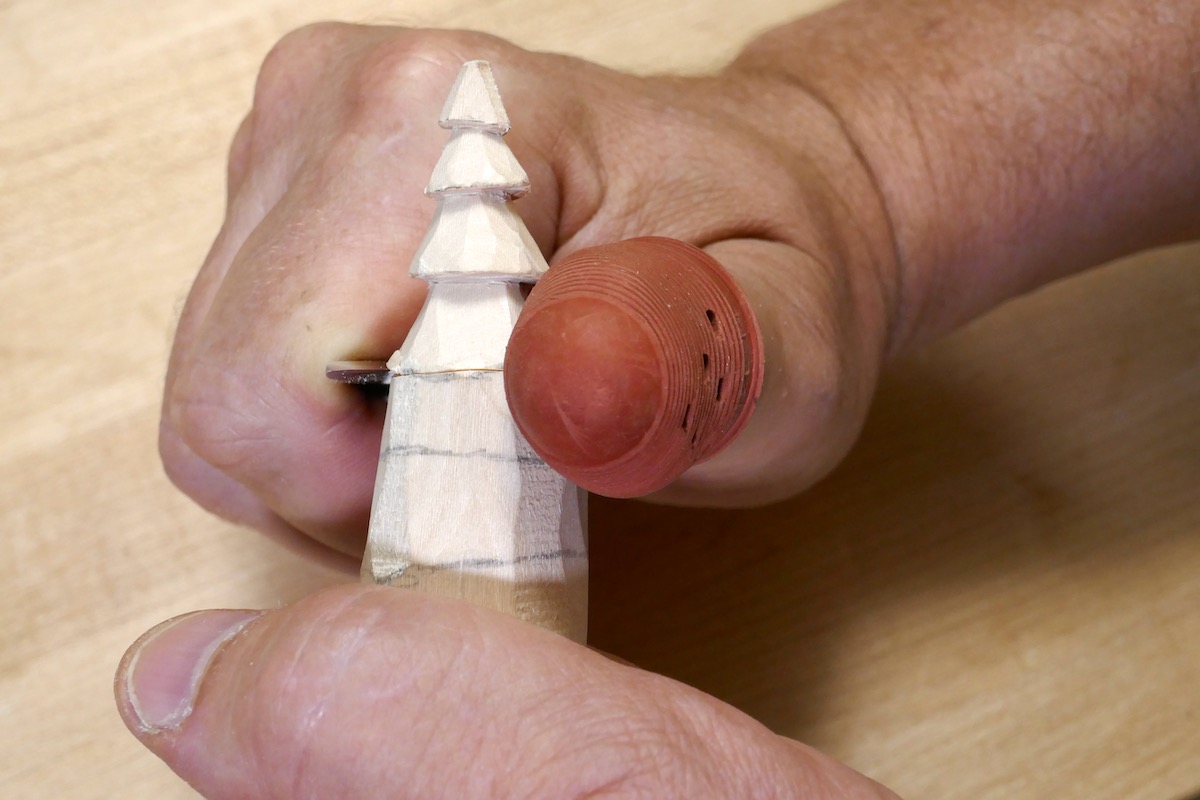
Utilize the part and push and part and pull techniques to establish right-angle grooves at the designated latitude marks on the tree. Gradually increase these grooves, resembling the branching-out structure found in conifer foliage.

Part the first latitude.

Push

Part the second latitude.

I sometimes place the tree on my bench and press the blade over the pencil line instead of holding it in my hand. This is yet another whittling technique.

You can also part by placing your thumb on the other side of the tree.


Parting

Pulling


Towards the conclusion of this process, carve a few notches along the length of each cone-shaped branch. These notches play a crucial role in infusing realism into your tree, implying the natural gaps one would find between individual branches.


With the completion of the tree carving, if you’re aiming for a more lifelike appearance, consider adding a coat of paint. Acrylic, watercolors, and milk paint works well for this purpose, and you don’t have to use full strength opaque paint, diluting the paint allows the wood grain to contribute to the overall finish, enhancing the realism of your completed tree.
Congratulations, you’ve now crafted your tree! Stay tuned for additional tips on adding those final touches to bring your masterpiece to life. In the next installment, I’ll delve into how to connect the tree to the base and share insights on maintaining your knife’s sharpness.
Here are some supplies and tools we find essential in our everyday work around the shop. We may receive a commission from sales referred by our links; however, we have carefully selected these products for their usefulness and quality.


