We may receive a commission when you use our affiliate links. However, this does not impact our recommendations.
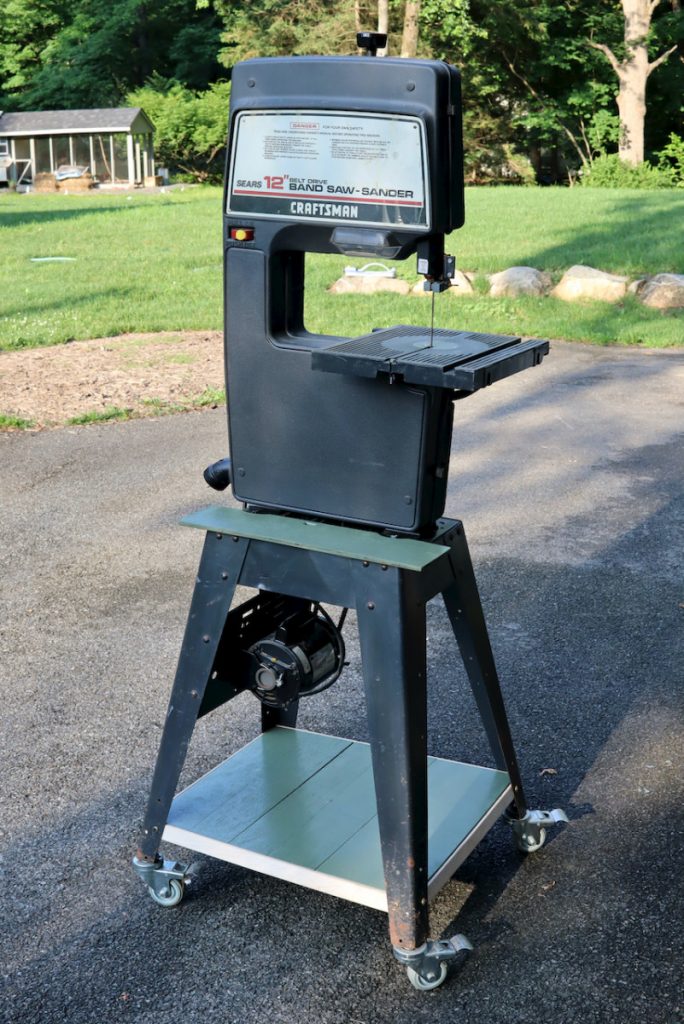
Six years ago my neighbor and friend Dave gifted me his vintage Sears Craftsman 12” band saw. I love this machine and use it quite a lot. Sears used to make these saws and sell them mainly to hobbyists and amateur woodworkers, but should not be disregarded by serious woodworkers; this machine is quite reliable and can work well especially with narrow blades.
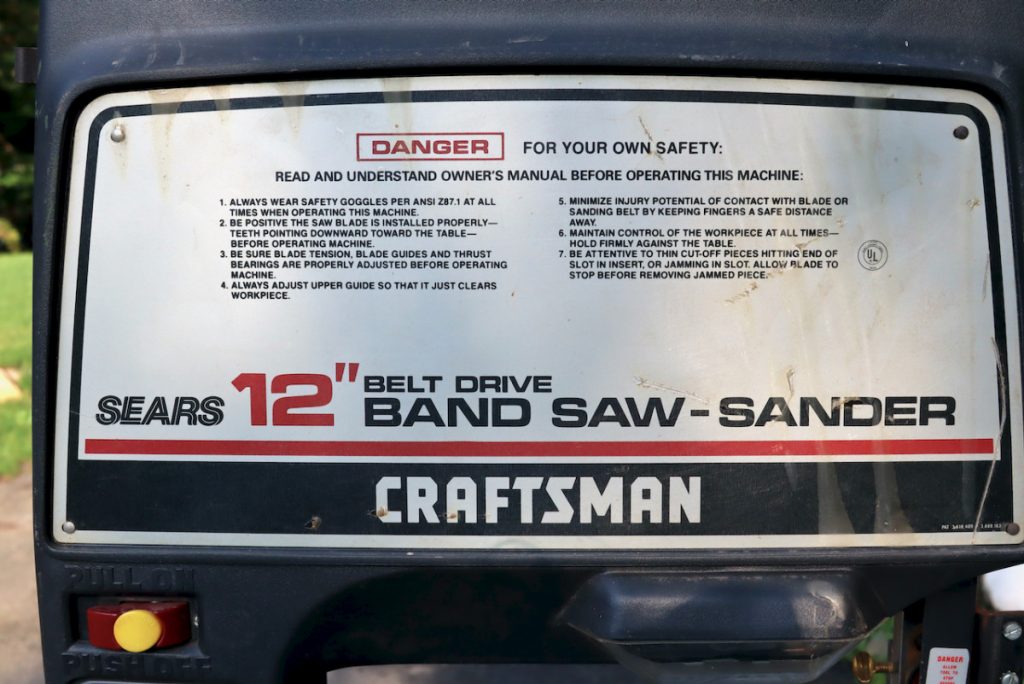
Over the years I augmented the saw and its stand. In this entry, I will explain what and how I improved its abilities and turned it into a well-tuned piece of equipment. My ideas can be of utility to anyone who has such a saw or is using other woodworking machines with open metal bases.
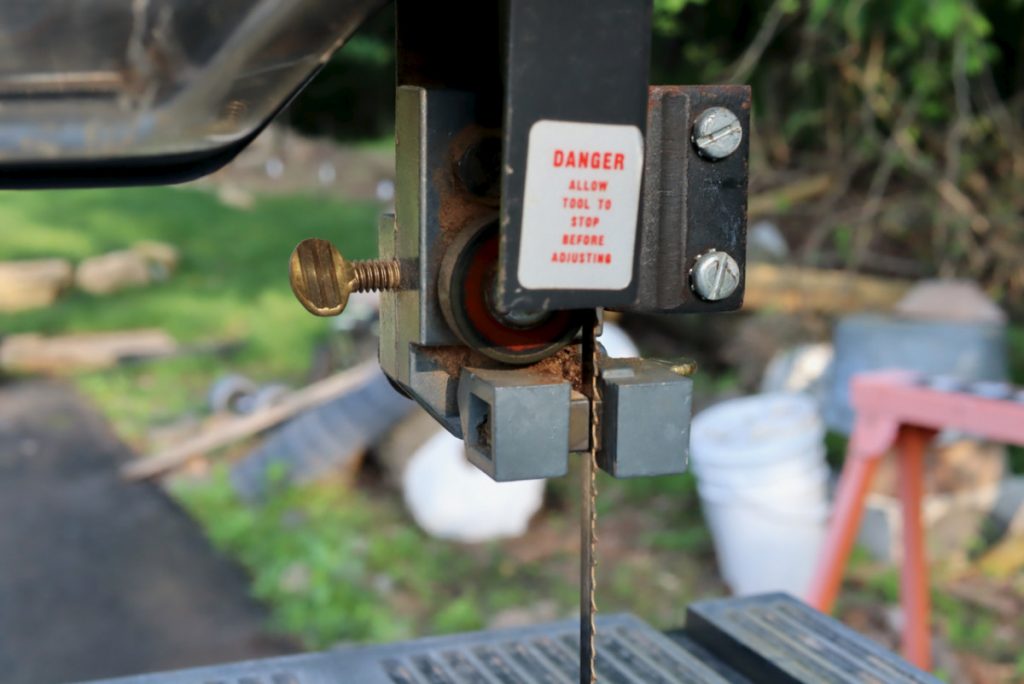
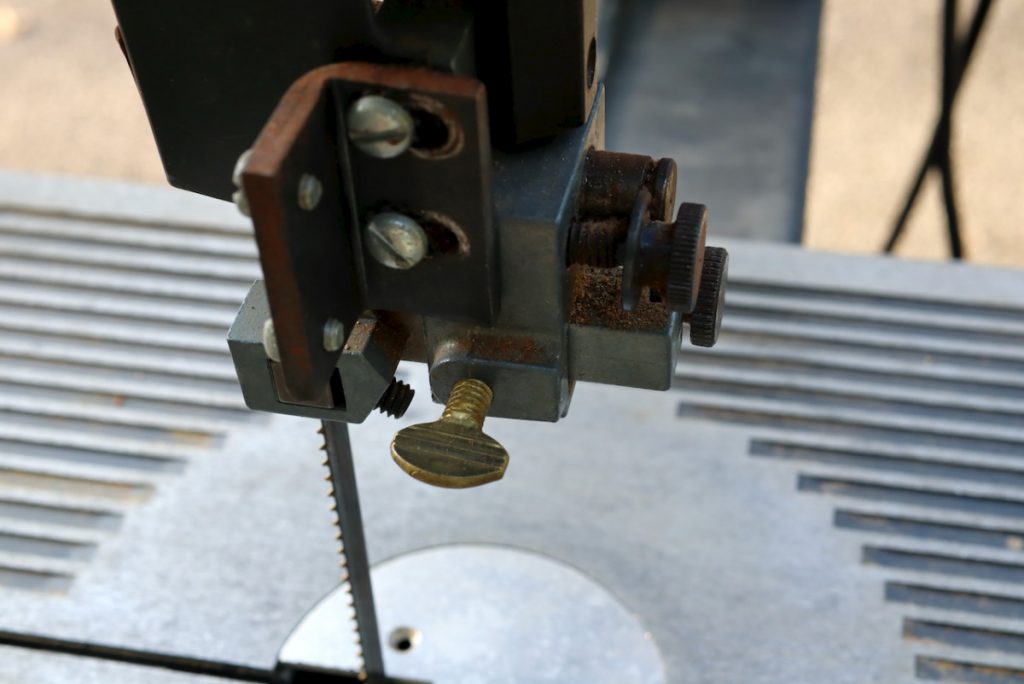
Blade Guide Screws
Most saws’ blade guides and bearings are locked in their position with Allen hex screws or set screws which require you to locate the appropriate key for any time you need to adjust something. I found this quite annoying so I replaced the set screws with inexpensive thumbscrews. I ordered brass thumbscrews but steel screws will work just as well.
Casters
Mobility is priceless in a small shop so I decided to install wheels on my saw’s base. 3” or 4” casters with a threaded steel stem can be installed at the sole of the metal legs. I recommend fully locking wheels in which the mechanism can be arrested from rolling and swiveling at will.
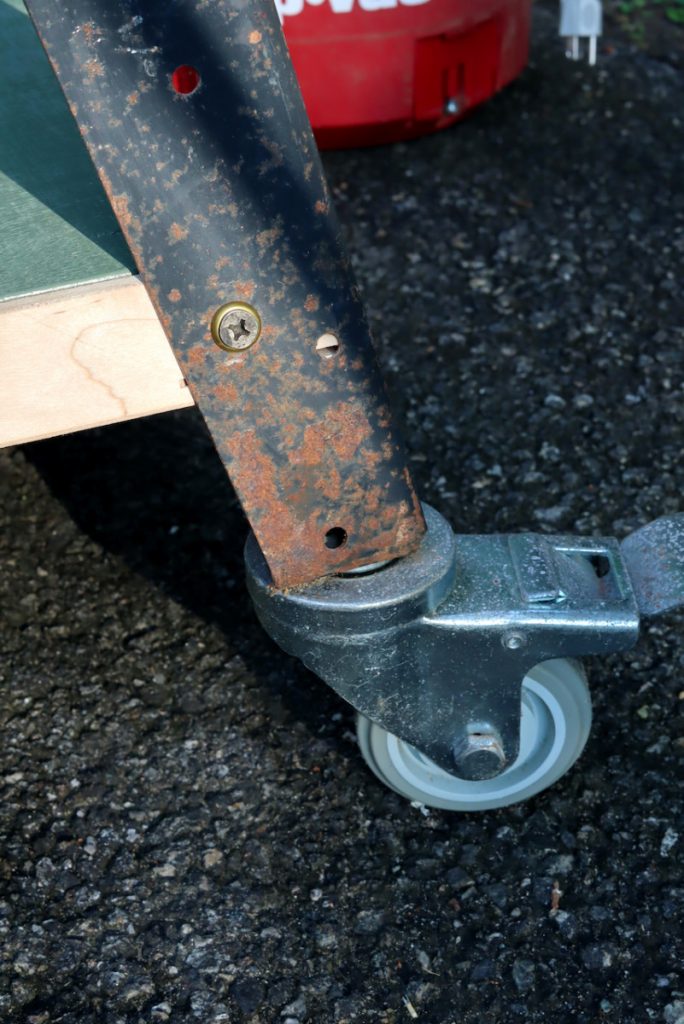
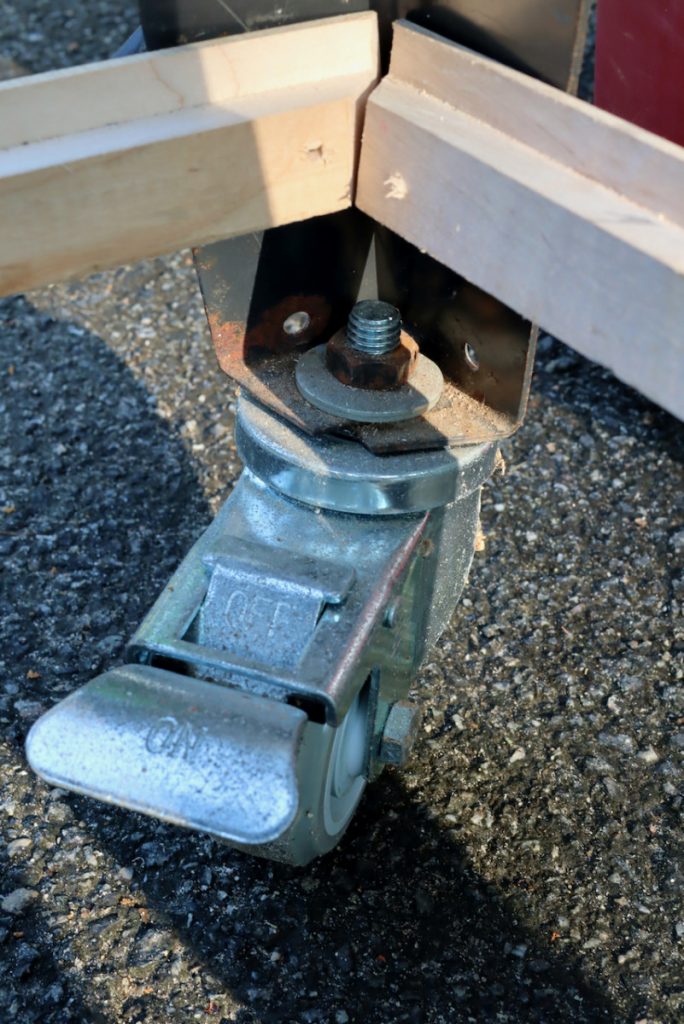
Dust Collection
Connecting your saw to a small dust collection or a repurposed vacuum cleaner will make your sawing environment much healthier. You will see the saw lines clearer and beath air and not dust. My saw came with a dust port but was missing the original outlet bracket that connected it to a suction hose. Since I needed to hook it up to my 5 Gallon shop vac I visited a hardware store and bought a plumbing elbow. With some tape wrapped around it to compensate for the missing thickness, I was able to secure it in place.
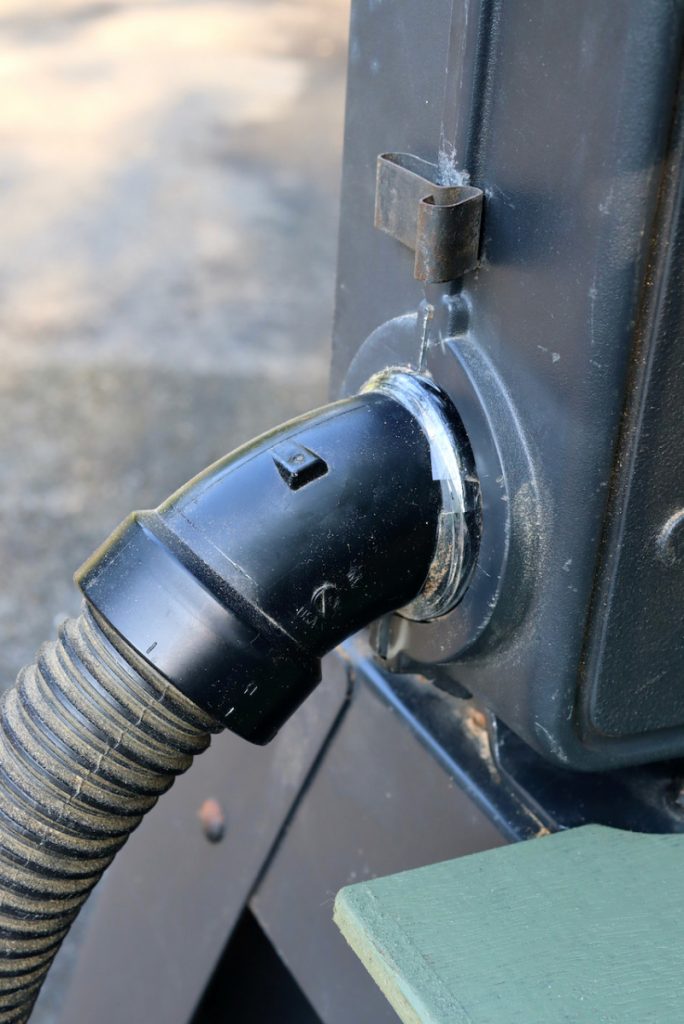
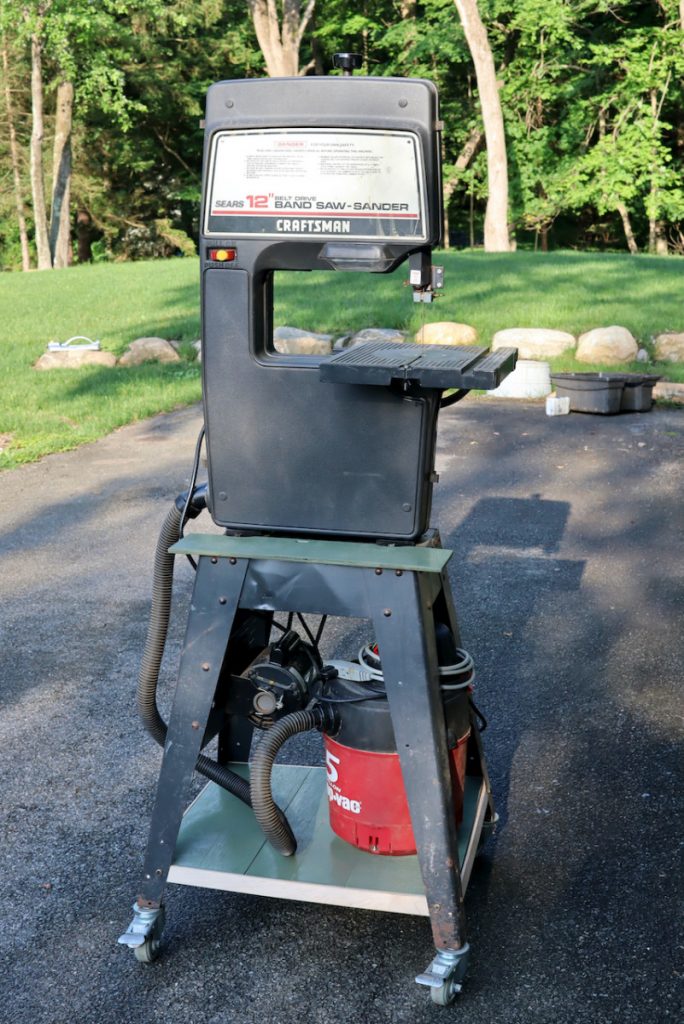
Additional Storage
One of the best ways to upgrade a shelf-deprived steel-based machine is to build one. But the challenge can be creating support that allows the shelf to span between the four splayed legs.
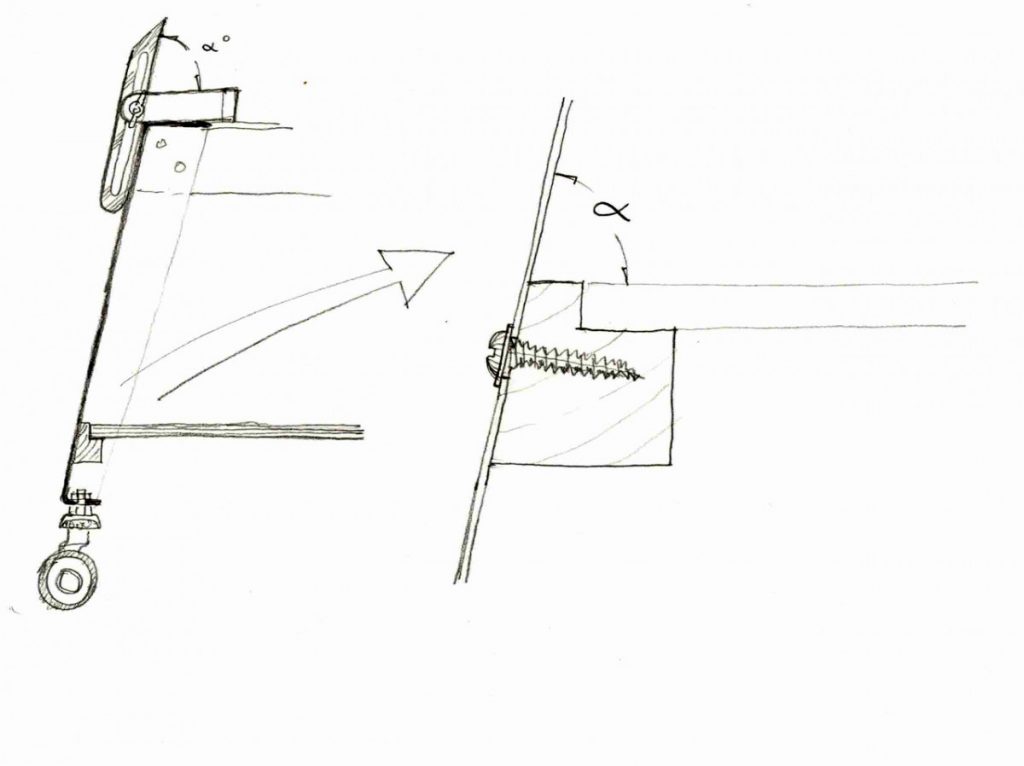
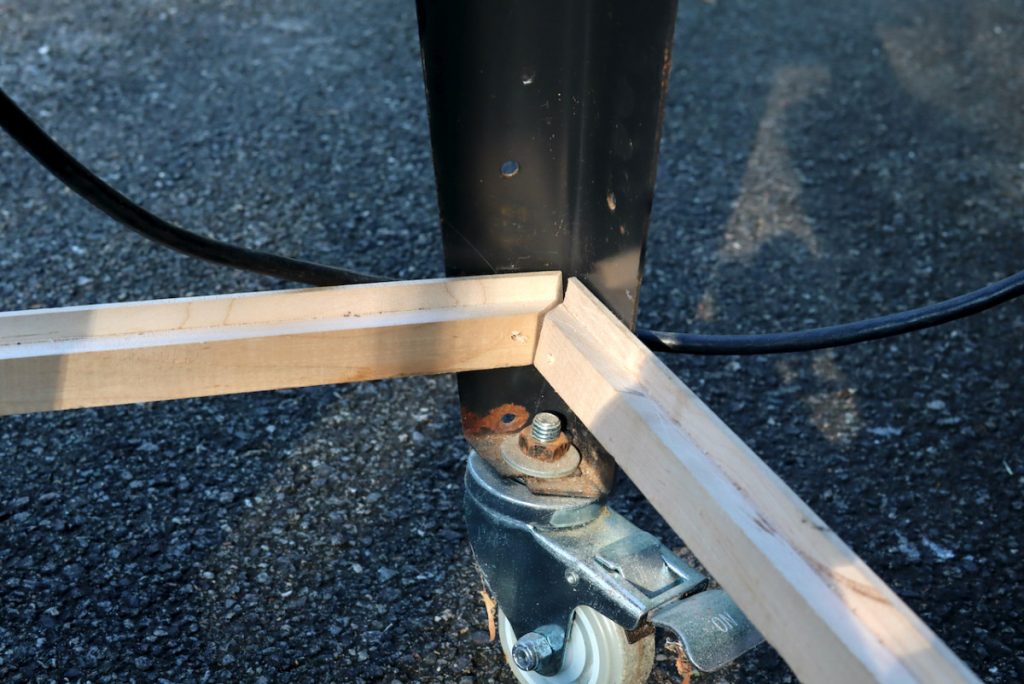
First I milled a rabbeted trapezoid batten to be used as the shelf’s frame. The front angle of the trapezoid profile should equal the angle of the leg (see drawings). The rabbet should match the thickness of the shelf material.
Next time I will show why and how I decided to divide the shelf into three separate strips and how I made a second, and very handy, shelf for the miter gauge.
Here are some supplies and tools we find essential in our everyday work around the shop. We may receive a commission from sales referred by our links; however, we have carefully selected these products for their usefulness and quality.


