We may receive a commission when you use our affiliate links. However, this does not impact our recommendations.
Cutting a square rabbet with a rabbeting plane is a challenge for beginners; usually they cut a rabbet that slopes in toward the shoulder or away from the shoulder.
When I teach people how to use a moving fillister plane, here are some tips I offer them to assist their efforts.
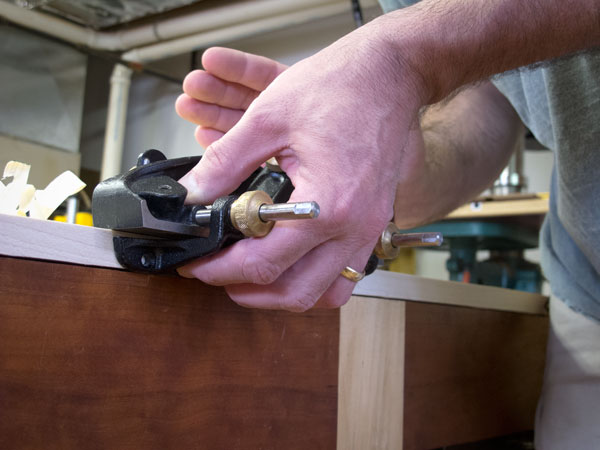
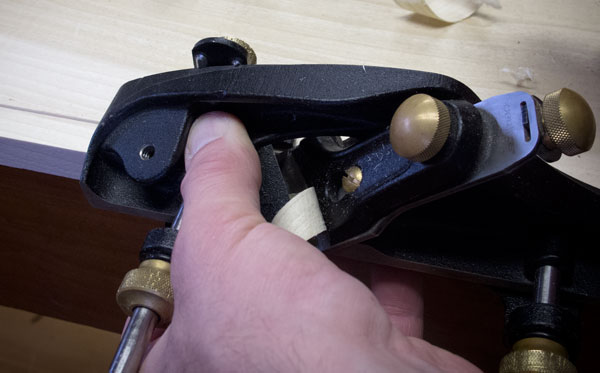
1. Don’t hold the knob. If the plane has a front knob, I recommend you remove it. At the very least, don’t grasp it during planing. The proper grip for a fenced plane is to put your fingers on the fence and your thumb directly in front of (but not on) the escapement, where the shavings come out. Grabbing the knob will only cause you to tilt the tool.
If you are cutting deep rabbets, I recommend lining up the edge of your work with the front edge of the benchtop to have more bearing surface at the bottom of the cut.
If you really struggle with the grip, consider adding a thin piece of wood to the fence that increases the bearing surface of the fence. Many fences have holes for just this purpose.
2. Don’t grab the tote. Most beginners hold the rear tote way too tight. This creates a rabbet that slopes away from the shoulder. Until you figure out how to hold the tote with a loose grip, don’t grip the tote. Push only with the butt of your palm, no fingers. That will train you to push forward with your dominant hand and not twist the tool.
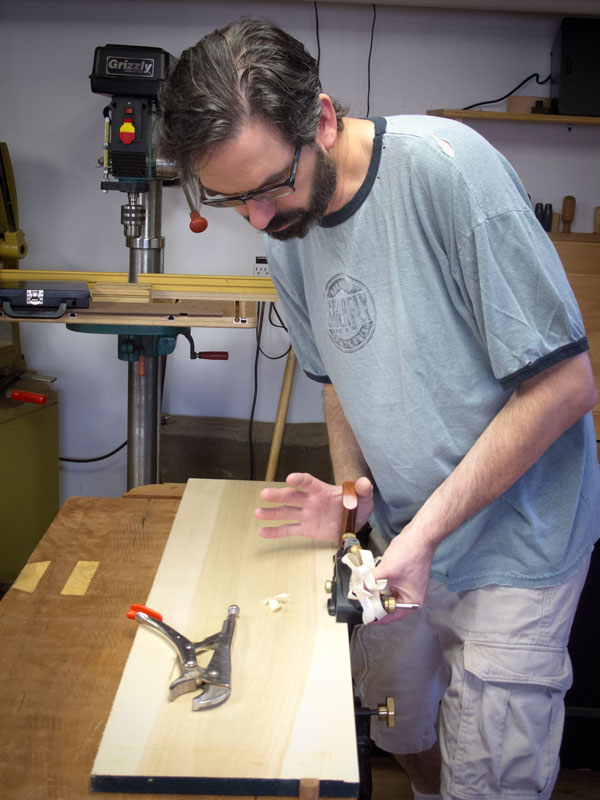
3. Move your head. In handwork, the position of your head is important. With fenced planes, put your head over the work and beyond the sidewall of the tool. You can even move your head forward of the tool a bit to see if the fence is bearing flat against the work.
Too often, beginners instead put their heads over the escapement to watch the pretty shavings fly out.
Butting your head over the work (toward the center of your workbench) will definitely help you plane 90°.
4. Check your work. Too often, beginners find out their rabbets are sloped at assembly, when the glue is wet and the clamps are going on.
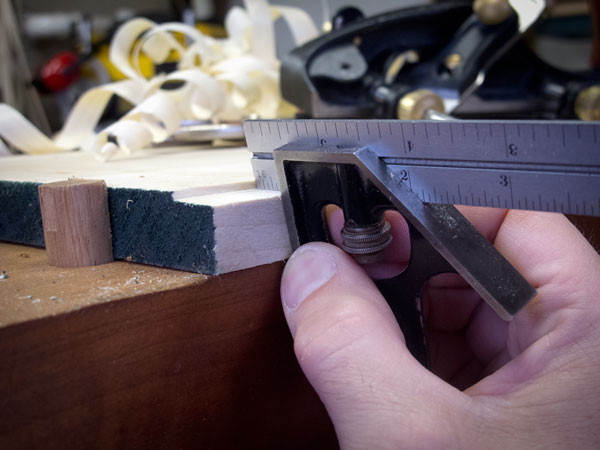
Check your rabbets with a combination square. Tilt the square slightly so only one edge of the blade bears on the rabbet. That gives you a more accurate reading.
Oh, and if you are cutting your first rabbets by hand, don’t do it on the sides of your curly maple carcase. Practice on some pine or poplar first to get a feel for the tool and ensure you can produce square rabbets.
— Christopher Schwarz
For more information like this on handplanes, check out the handplanes section of my blog here and consider my book “Handplane Essentials,” available from ShopWoodworking.com.
Here are some supplies and tools we find essential in our everyday work around the shop. We may receive a commission from sales referred by our links; however, we have carefully selected these products for their usefulness and quality.


Chris, I use an old wooden fillister (or fillitster as Roy calls it), and I found the technique is exactly the same with minor adjustment to the grip for the thick wooden body. Very neat that it translates directly to the metal planes.
I just tried my LV rabbet for the first time yesterday and had terrible results so this is a timely post. I assume the technique is the same for end grain?
I often find that the vertical face of my rabbet tapers inward as I get deeper. Is this an iron protrusion issue? I use a wooden bodied moving fillister. I’ve also wondered if the vertical edge of the iron should be sharp to cut the vertical edge of the rabbet, although I think I’ve read somewhere that it shouldn’t be sharp. Great tips to try the next time I cut rabbets.
One nifty trick I used for a while came from ALF. Attach a “mast” to the nose of the plane (pirate flag is optional). Rig the mast so it is square to the fence and blade. If you watch the tip of the mast and it is dead straight, your rabbet or groove or dado will be too. Only need to do this a few times to get the feel of the plane.
Same principle as a winding stick magnifying the wind in a board.
Not the same principle as a can of beanie weenies magnifying the wind in your shop.