


We may receive a commission when you use our affiliate links. However, this does not impact our recommendations.
A Backer Board Prevents Chip-Out
 Chip-out is always an issue when you even up the stiles and rails of a door with a plane. If you plane all the way across the door, from one end to the other, you’re bound to chip out the outside edge of the stile. That damage is not easy to repair, so it pays to avoid any risk of it happening.
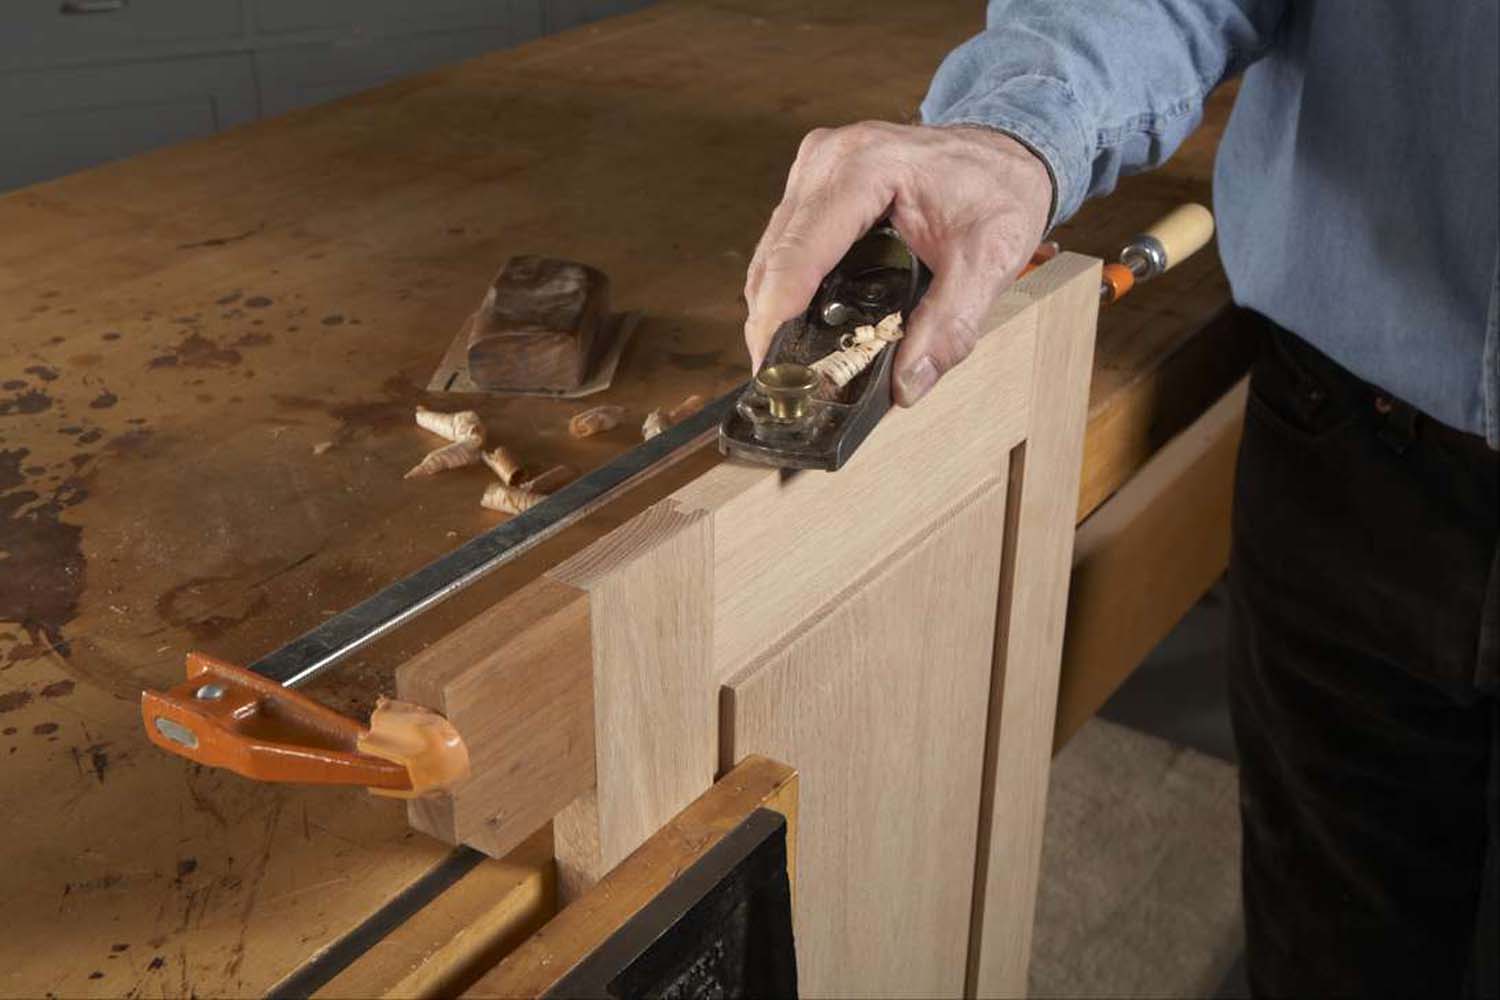
There are two strategies you can use. First, try to plane from both outside edges of the door and stop in the middle of the rail. This method works well when the grain of the rail runs fairly straight.
If the rail has a very pronounced grain direction, and planing against the grain produces tearout, go to Plan B: the backer board. Clamp a small block flush with the stile. Orient the block so its long grain faces up—there’s no need to plane more end grain than you have to! Plane all the way across the rail and off the end of the backer board.
Back Up A Rail
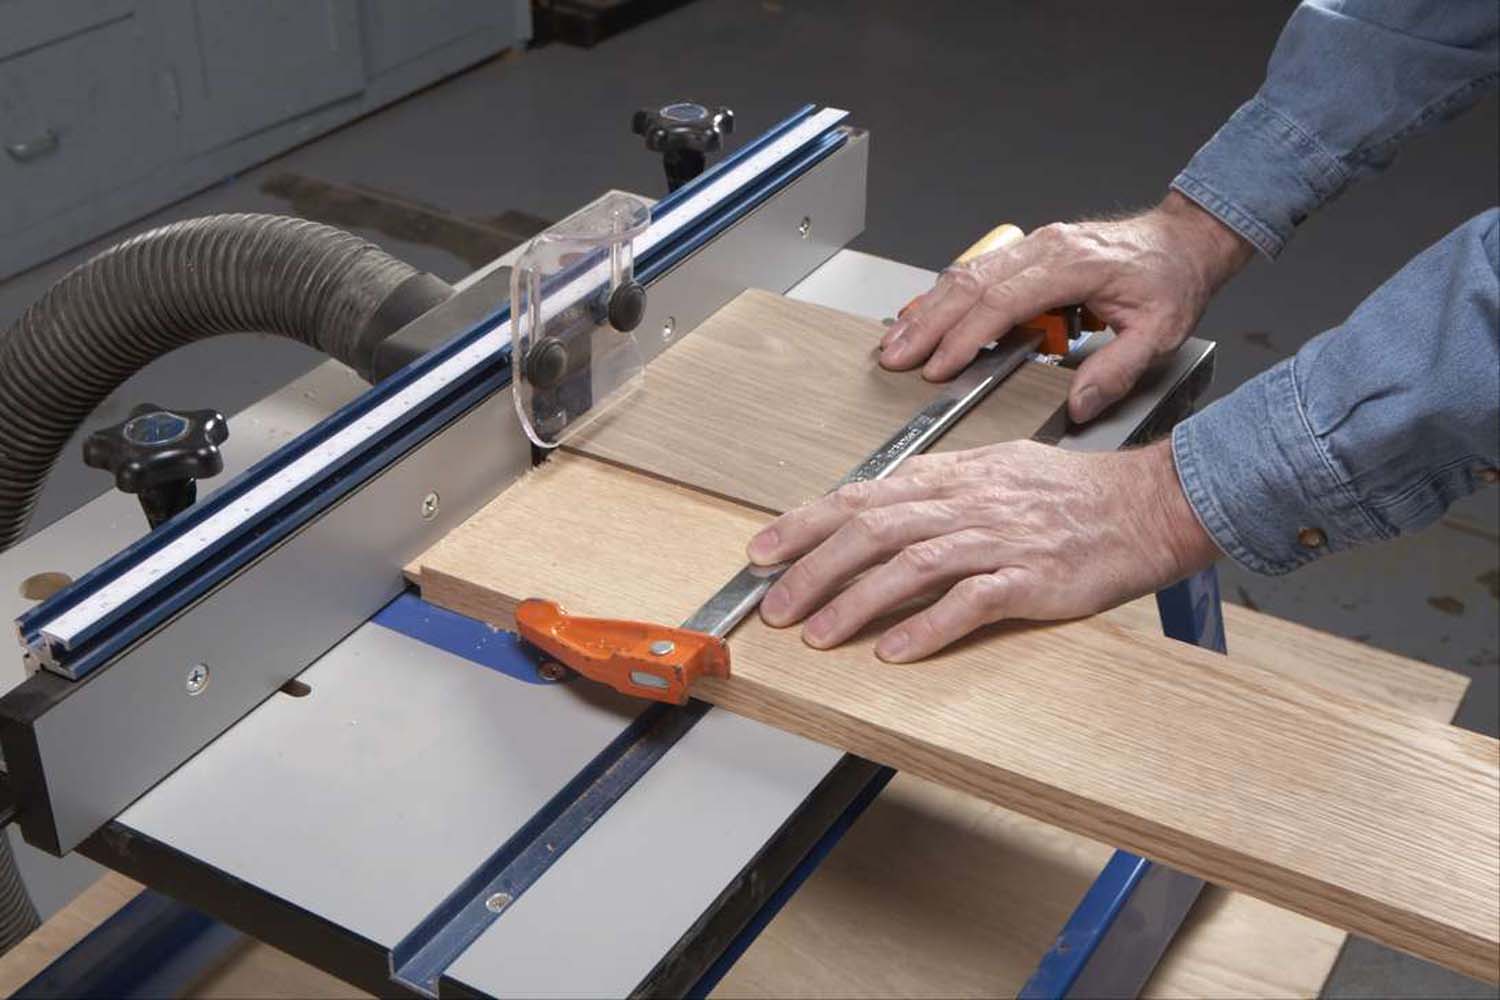 When you’re making a door or frame with cope and stick router bits, you have to rout all the way across both ends of each rail. The simplest way to prevent tearout—and to steady the workpiece—is to clamp a large piece of hardwood to the rail.
This piece should be milled perfectly flat and square. (Here’s a reason for hanging on to the offcuts of wide boards!) You can re-use it over and over for the same set of rails; when you’re done, cut off the end you’ve routed into and set the board aside, ready for the next project.
Bevel-Up Planes Cut Fast
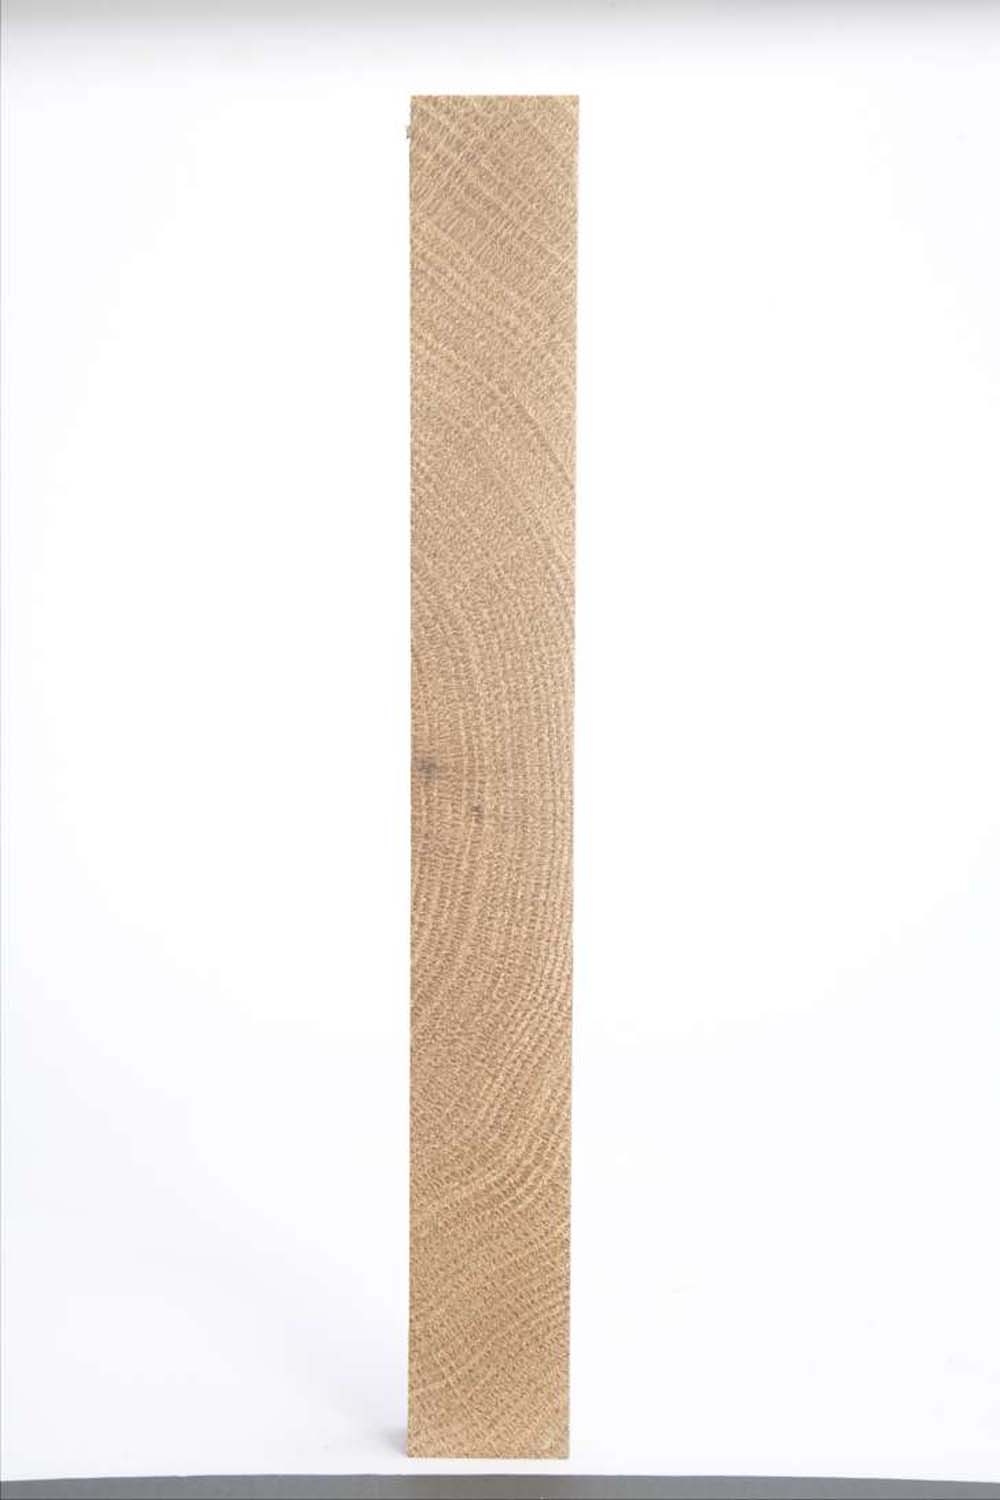
 When you’ve got a lot of end grain to remove, say, from a very rough saw cut, the fastest way to get to straight and smooth is to use a plane.
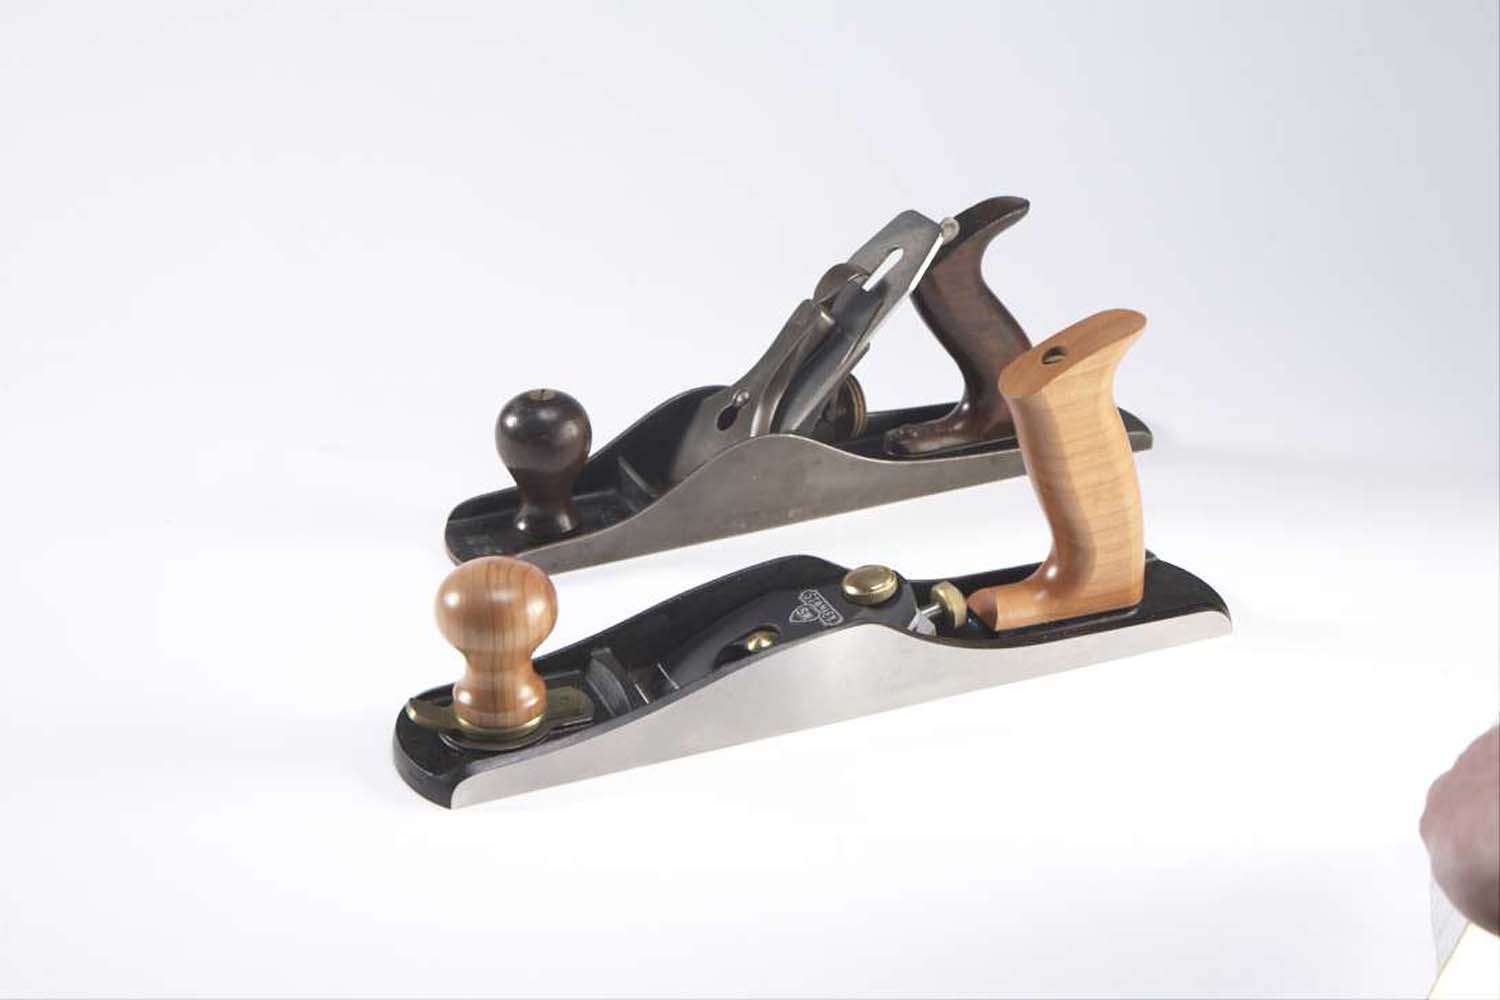
Standard bench plane.
Large planes are better than small planes, because they have more mass to carry you through the cut. (End grain requires about twice as much force to cut as long grain). And a new class of tools—bevel-up planes—are better than standard planes. They cut at a lower angle (thus requiring less force) and are less prone to chatter.
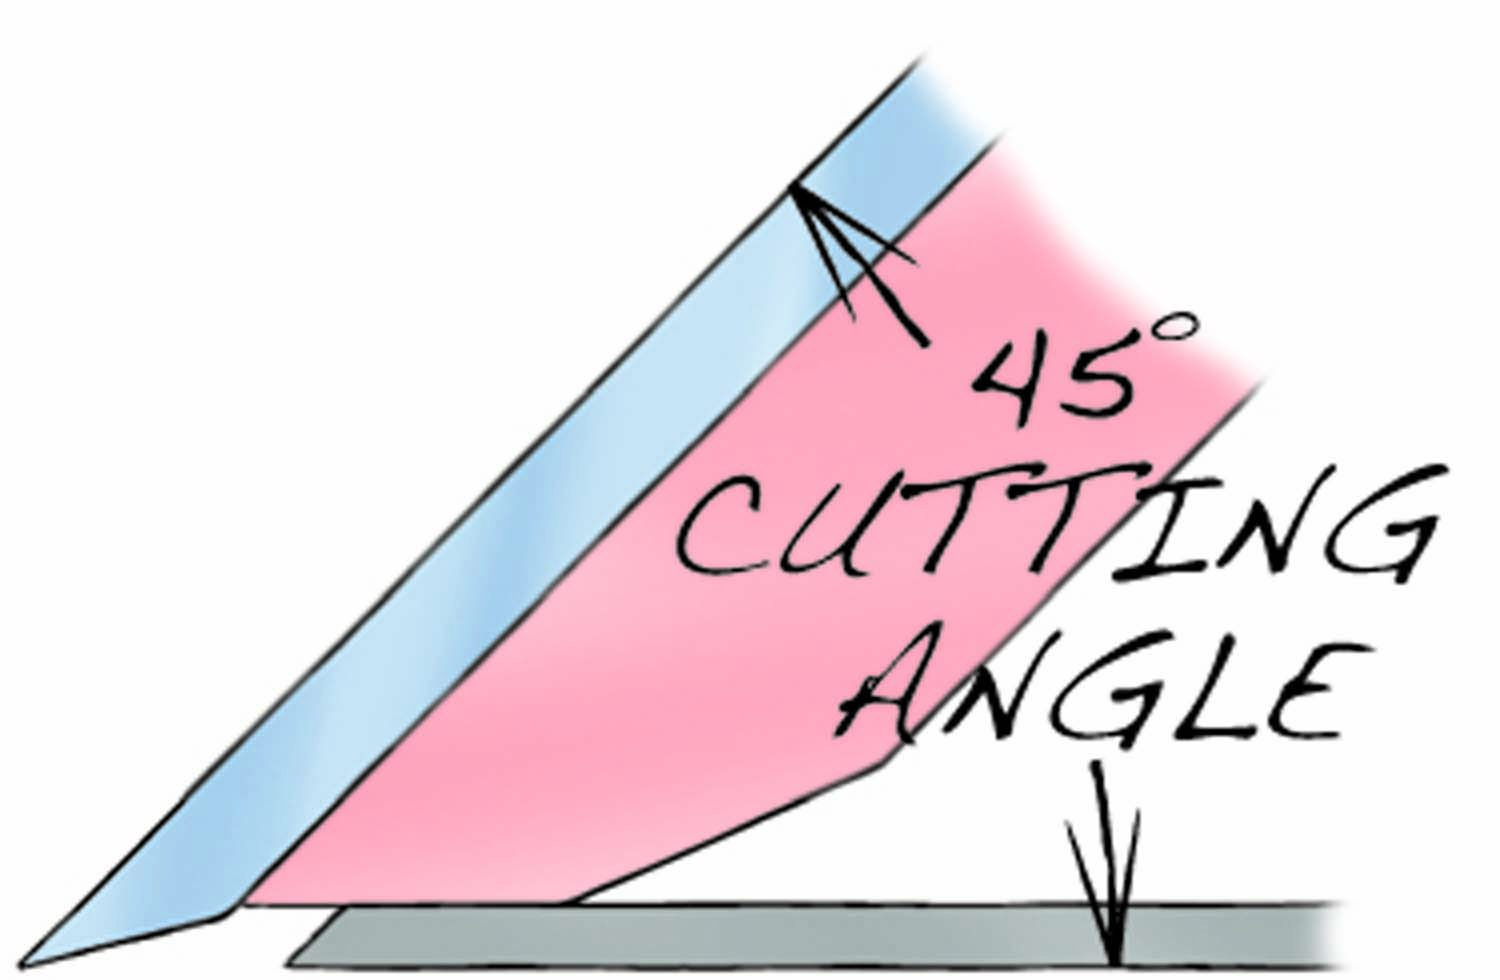
In a regular plane, the blade’s bevel faces down. The effective cutting angle of the blade is 45°, the same angle as the plane’s frog. The bevel hangs over the edge of the frog, unsupported, so the blade may chatter if it meets a lot of resistance.
Bevel-up Plane
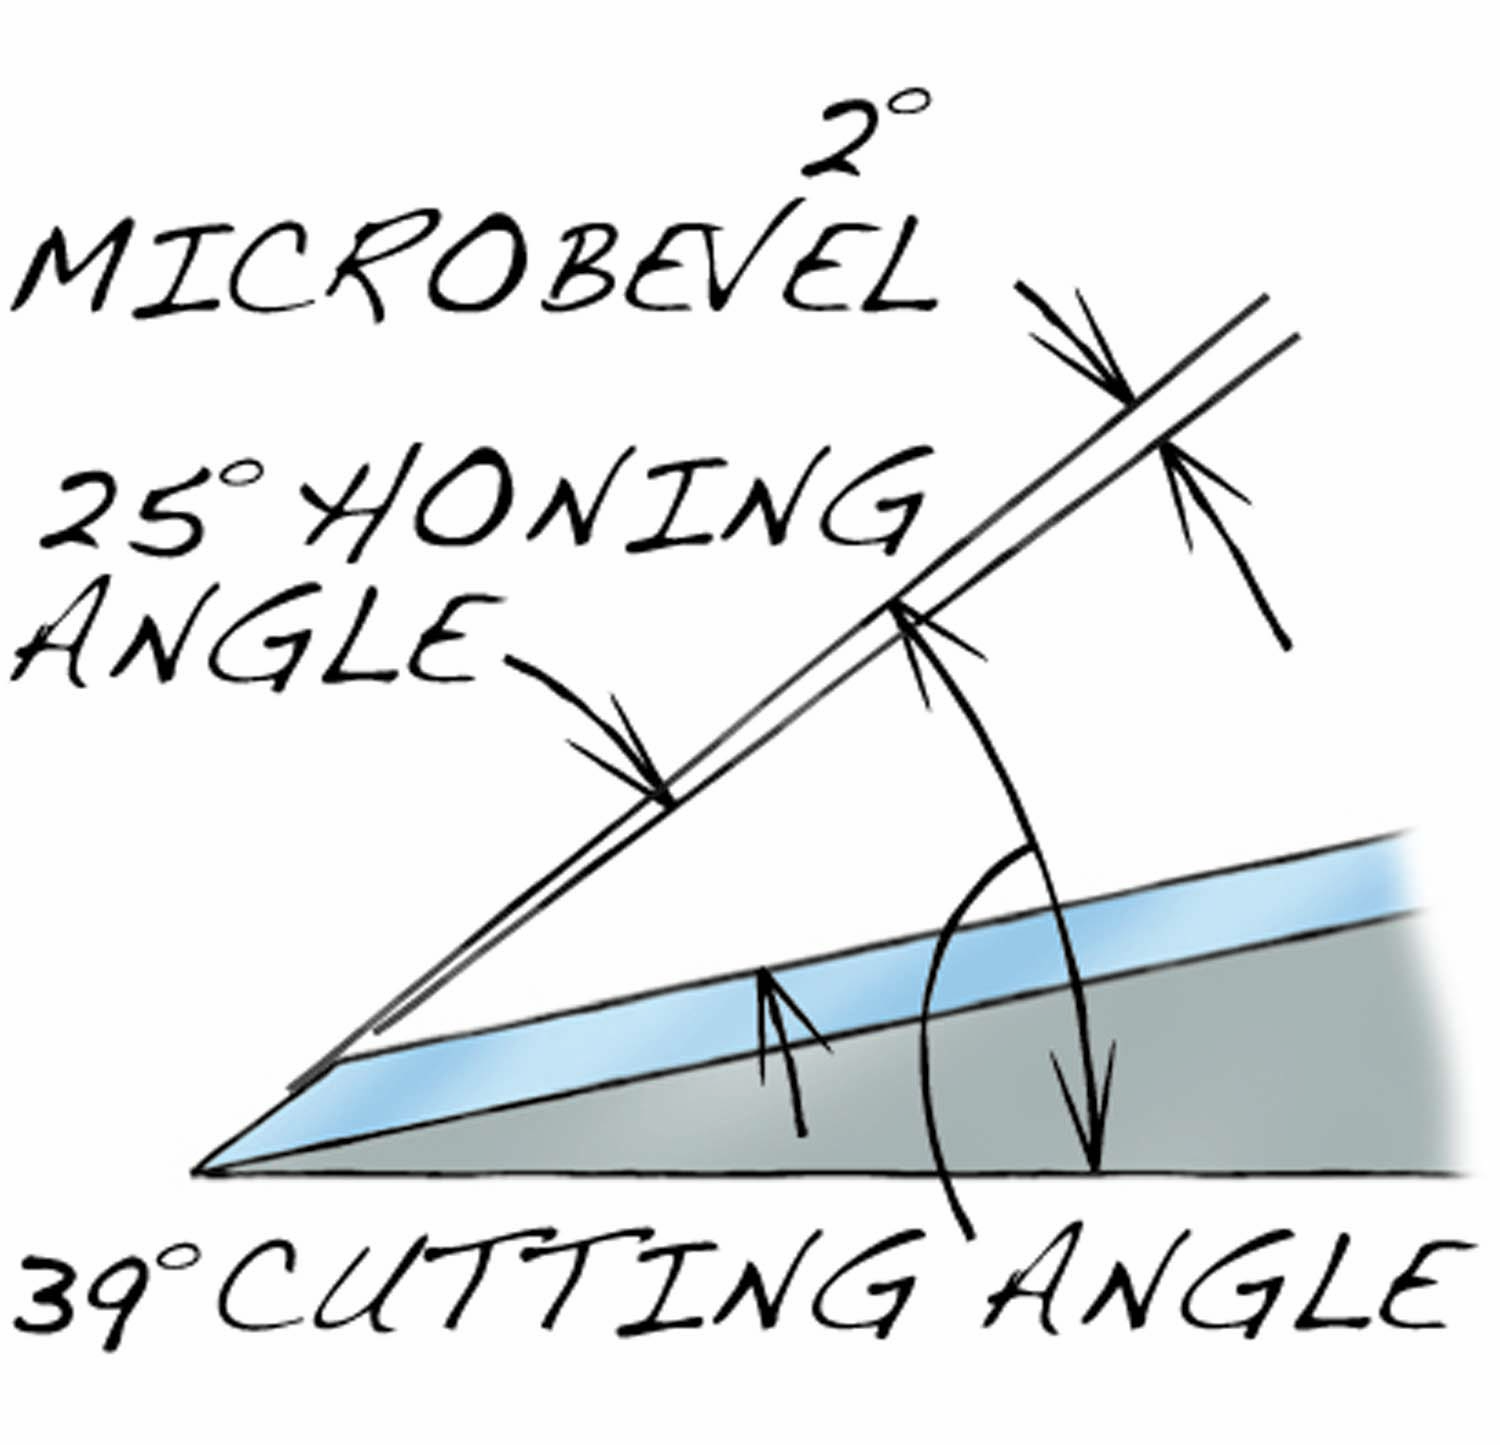
In a bevel-up plane, the blade’s bevel faces up, just like in a block plane. The effective cutting angle of the blade is the sum of the blade’s honing angle (usually 26-27°, including a 1° or 2° microbevel) plus the frog’s angle (usually 12°), which adds up to 38°-39°. This lower cutting angle noticeably reduces the amount of force required to cut end grain. The bevel of this blade is supported by the frog right down to the cutting edge, so chatter is much less of a problem.
Bevel-up jack planes are available from Stanley, Lie-Nielsen and Lee Valley.
Scraping is Quicker than Sanding
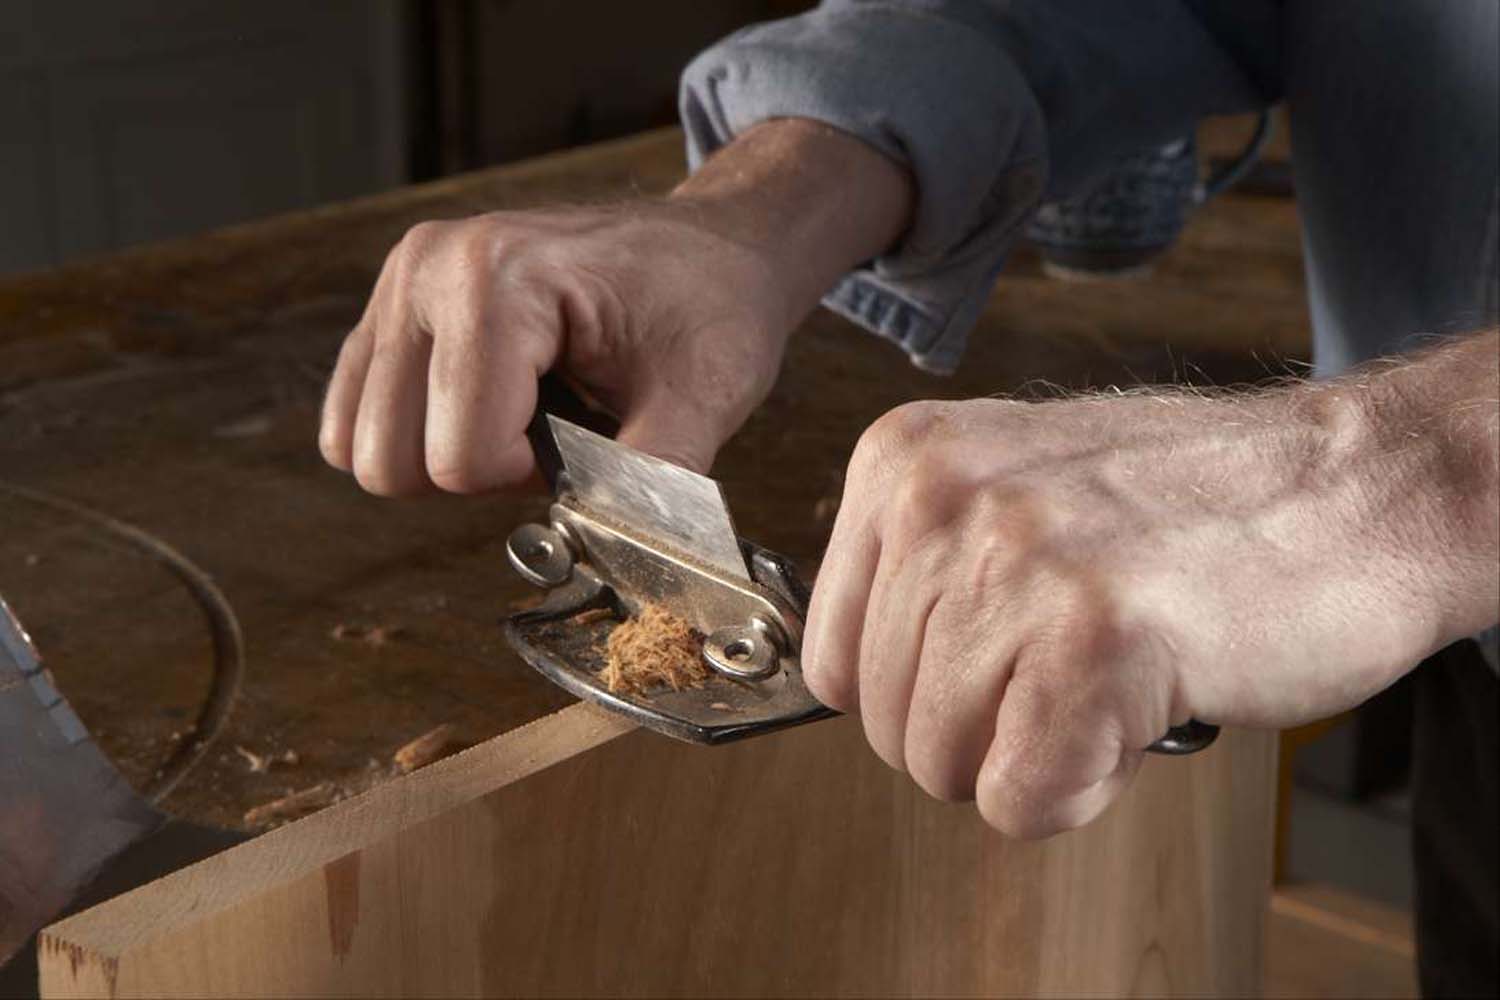
No matter what grit sandpaper you use on end grain, there’s one hand tool that can get the job done faster: the No. 80 scraper.
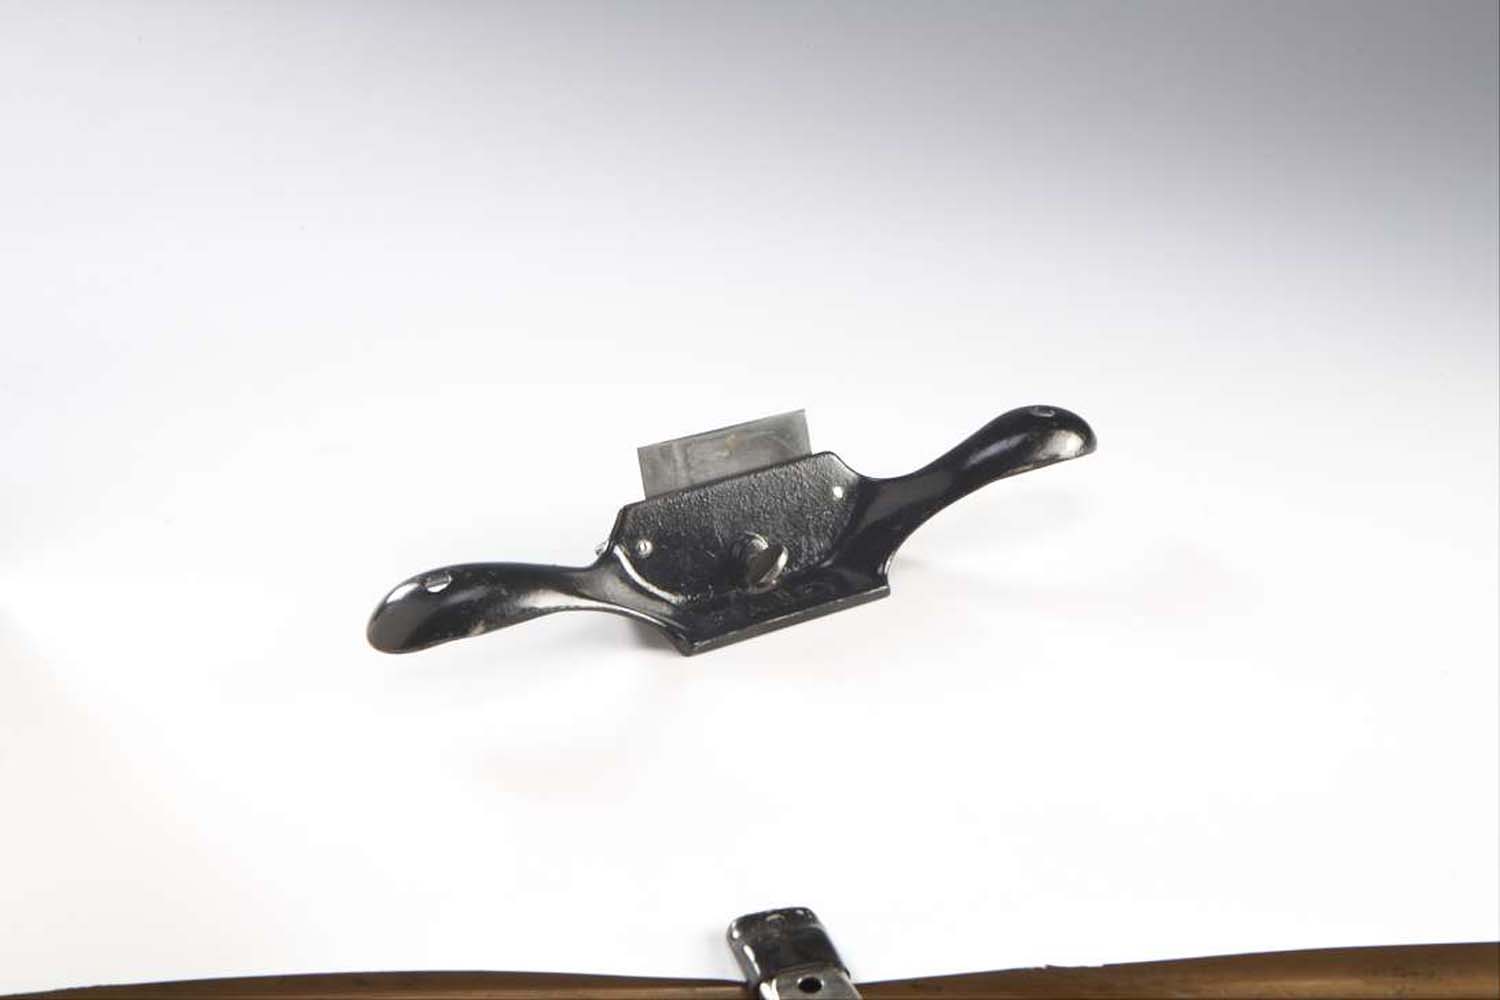
The No. 80 is a very simple tool. Although it looks like an oversized spokeshave, it’s completely different. It cuts like a scraper, with the blade leaning forward. The depth of cut is regulated by a thumbscrew, which springs the blade.
Although you can also use a plain card scraper on end grain, a No. 80 has three big advantages:
- The No. 80 has a 2-3/4″ long sole to guide the blade and prevent it from digging in. Working a card scraper hard, you can inadvertently make a ripply surface, because it has no sole.
- Your hands won’t get scorched, because they don’t touch the blade. As you may know, a scraper blade can get very hot!
- Your hands are in a better position to push harder, and cut deeper, in order to remove larger shavings.
 The harder the wood, the better this tool works. For softer woods, such as pine and basswood, use a low-angle block plane or a bevel-up plane—these woods fuzz up when you try to scrape them.
After scraping with the No. 80, go directly to 150-grit or 180-grit sandpaper. Once you’ve learned how to sharpen and handle the No. 80, smoothing end grain will be much less of a chore.
Start With 80 Grit
 Shift mental gears when it comes to sanding end grain. It’s tougher to cut than side grain—and the marks left in it by a saw blade usually run deeper—so it’s best to start out with coarse 80 grit paper.
Once the machining marks are gone, switch to 100 grit, then move on to 120 grit. You may have to sand with even finer paper for the stain or finish you’ll be applying, but the point is to avoid the temptation of skipping grits. Coarse paper leaves pretty deep scratches, and you don’t want to leave a few of those behind. It’s best to go up the grit ladder one rung at a time.
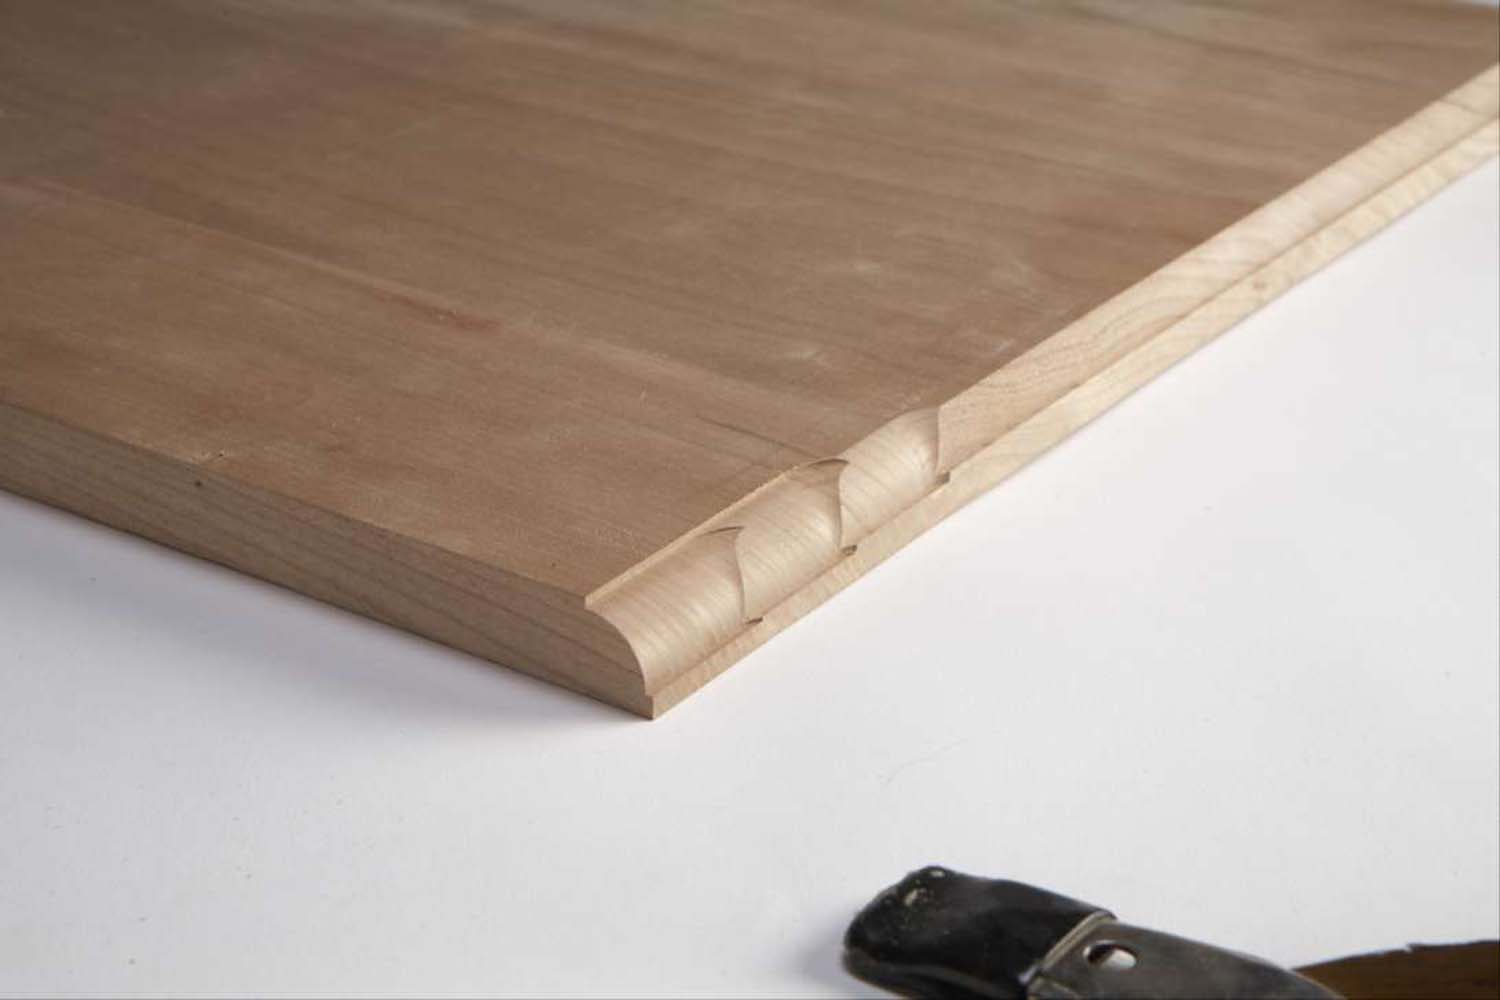
Shellac Lightens End Grain
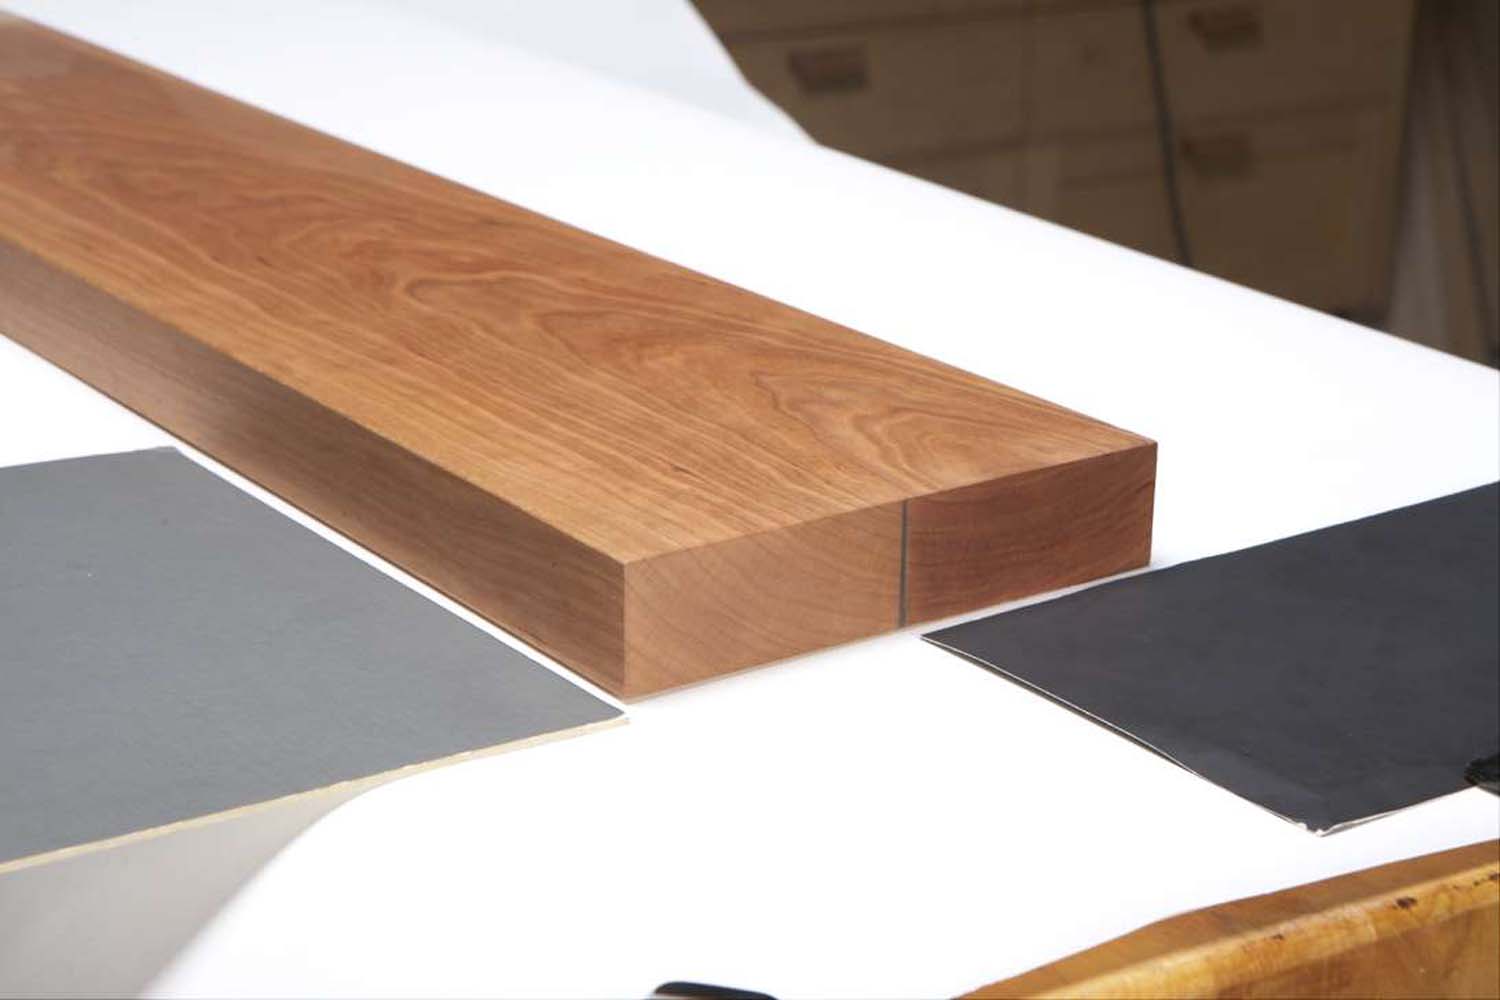 End grain is thirsty stuff. It soaks up water, oil and varnish much faster than side grain. When you’re applying a finish, it may soak up so much material that the surface turns quite dark.
In some cases, such as the end of through tenon or the ends of a dovetailed drawer front, that may not be such a bad thing. Contrast is good. But it’s not so good on the ends of a top, so it’s often a good idea to seal the end grain first before applying a finish—particularly an oil finish.
The easiest sealer to use is shellac. You don’t need a very thick coat. If you’re using shellac from a can, mix a small batch with an equal amount of denatured alcohol. Apply the shellac with a small brush, but only on the end grain.
In the photo above, you can clearly see the difference shellac can make. Some finishes won’t require this extra step, though—it’s best to experiment on scrap, first, so see if it’s necessary.
Brush End Grain First
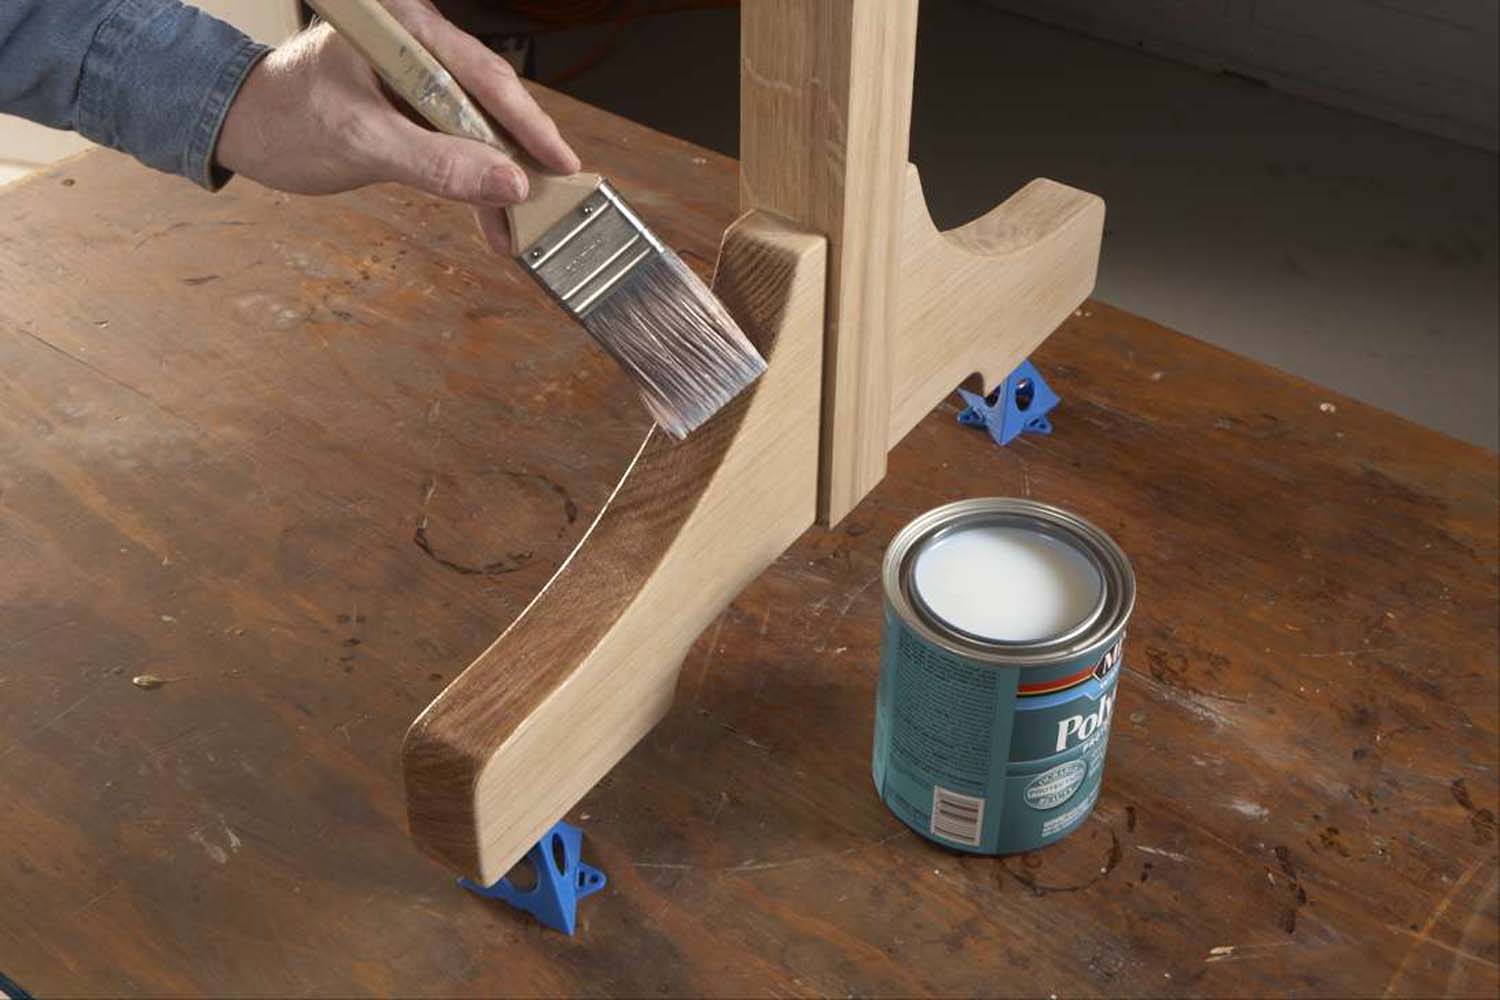 Make it a habit of applying your finish to end grain first, before anything else. Why? It’s all about avoiding drip shadows.
Sounds creepy, doesn’t it? Here’s the deal: Let’s say you’re finishing a top. You’re merrily brushing the first coat of finish back and forth on the top surface, and some finish happens to drip down an edge, which you haven’t got to yet. If this edge is end grain, the finish will soak into the wood quite fast. If you don’t wipe off the drip right away, the finish that soaks in will darken that area. After you finish the entire edge, the original drip will still be visible as a dark shadow.
If you finish the end grain first, drips aren’t a problem, because they won’t soak in.
Seal with Waterproof Glue
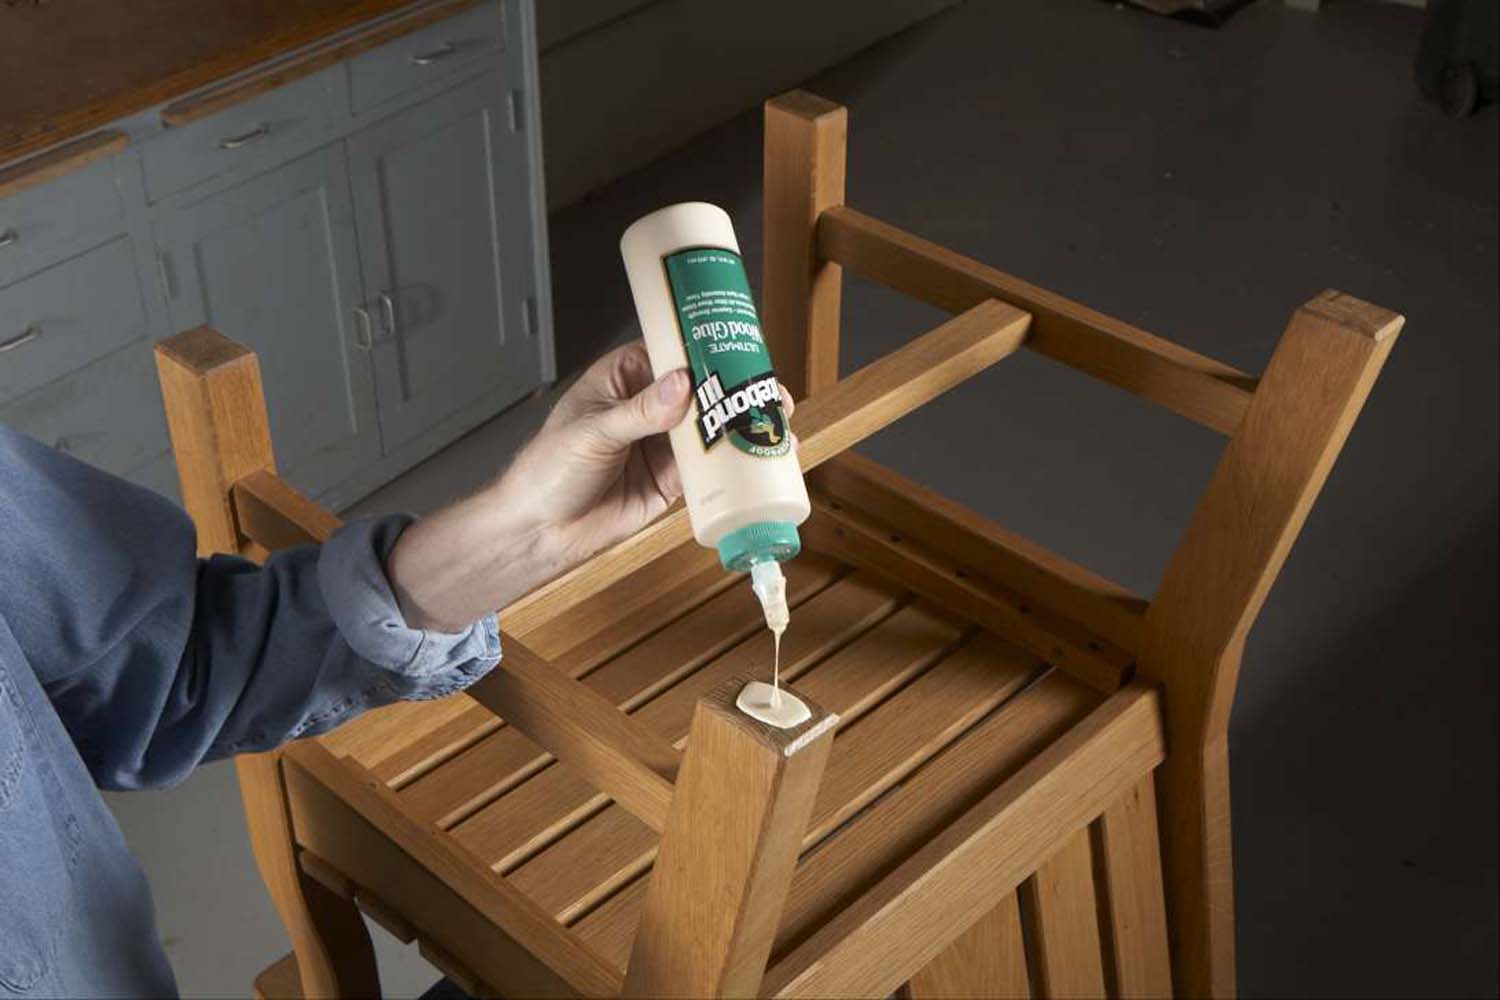 Where does outdoor furniture rot first? On the end grain, of course, since it’s thirsty nature makes it the perfect breeding ground for fungi. Every area of exposed end grain is susceptible to rot, but the ends of legs have it the worst.
The best way to prevent legs from rotting is to seal their ends with glue. Epoxy works well, but new waterproof glues, such as Titebond III, are easier to use and to clean up. Dribble a puddle of glue to the end of each leg, let the glue soak in for five minutes or so, then wipe off the excess. Repeat the procedure in an hour, and your legs will last much longer.
Check Blade Alignment
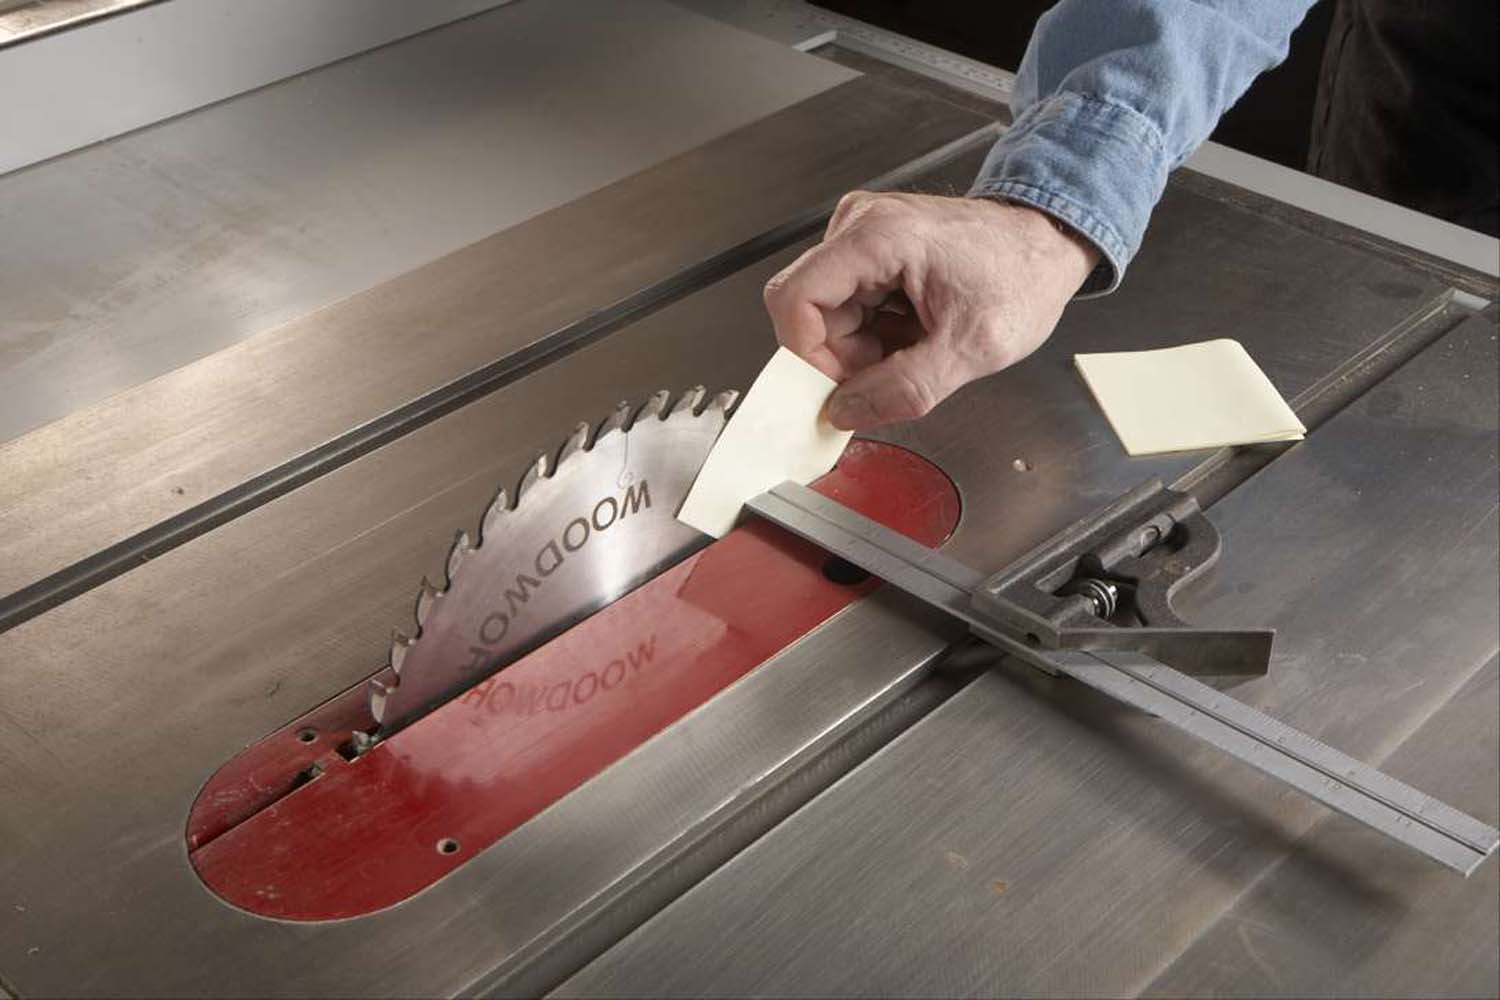 When you crosscut a board, do you get burn marks? If so, your blade may be dull, or you’re feeding too slow, or—keep your fingers crossed that it ain’t so—your blade may not be parallel with the saw’s miter slots.
If your blade is out of parallel, the sides of the blade’s teeth, or the body of the blade itself, will rub against the end grain. This creates friction and heat, resulting in burn marks that are very hard to remove.
To check your blade’s alignment, you’ll need a combination square and a piece of notebook paper. First, unplug your saw, then raise the blade full height. Place the square in one of the miter slots, holding its base tight against the side of the slot. Adjust the square so that its end touches the body of the blade—it doesn’t matter if this is the front or back of the blade. Don’t tighten the blade.
Slide the blade back and forth along the miter slot a few times and watch what happens. If you see a gap open up between the end of the square and the blade, then the blade isn’t parallel to the miter slot. (If you don’t see any gaps, then your alignment is OK.)
Should you see a gap, the next step is to check its size. Use a piece of notebook paper (or, ideally, a feeler gauge). The paper is about .003″ thick—if the gap is larger than this, your saw definitely needs to be re-aligned. (Refer to your saw’s manual for instructions.) If the gap is less than .003″, the next step depends on what kind of saw you have. If it’s a cabinet saw, proceed with the re-alignment. If it’s a contractors saw or a hybrid saw, leave well enough alone. While not impossible, it’s very difficult to align this type of saw to a tolerance less than .003″.
Take Small Bites
 You’ve seen “Maintain Speed” signs on highways and in tunnels, right? Well, you might as well have one posted on your router, too. If you slow way down or stop while routing end grain, there’s a good chance the bit will burn the wood.
Some species of wood are more prone to this problem than others. Cherry—one of our premier hardwoods—is notoriously susceptible to burning.
By maintaining speed, I don’t mean that you have to move your router at a fast clip. Slow and steady is fine—but not too slow.
The best way to maintain a steady rate of feed is to avoid hogging off too much wood in one pass. Rather than rout a full profile in one pass, take it in stages. If you’re using a handheld router and a bit with a bearing, adjust the height of the bit so your first pass doesn’t take off too much wood.
Rout all the way around your workpiece, then lower the bit 1/32″ or 1/16″. Rout all the way around again, and repeat the procedure until you’re with 1/64″ or so of the full profile. Make the final adjustment and take a light cut all around. Spending a little more time routing will save a lot of time sanding.
Here are some supplies and tools we find essential in our everyday work around the shop. We may receive a commission from sales referred by our links; however, we have carefully selected these products for their usefulness and quality.


