We may receive a commission when you use our affiliate links. However, this does not impact our recommendations.

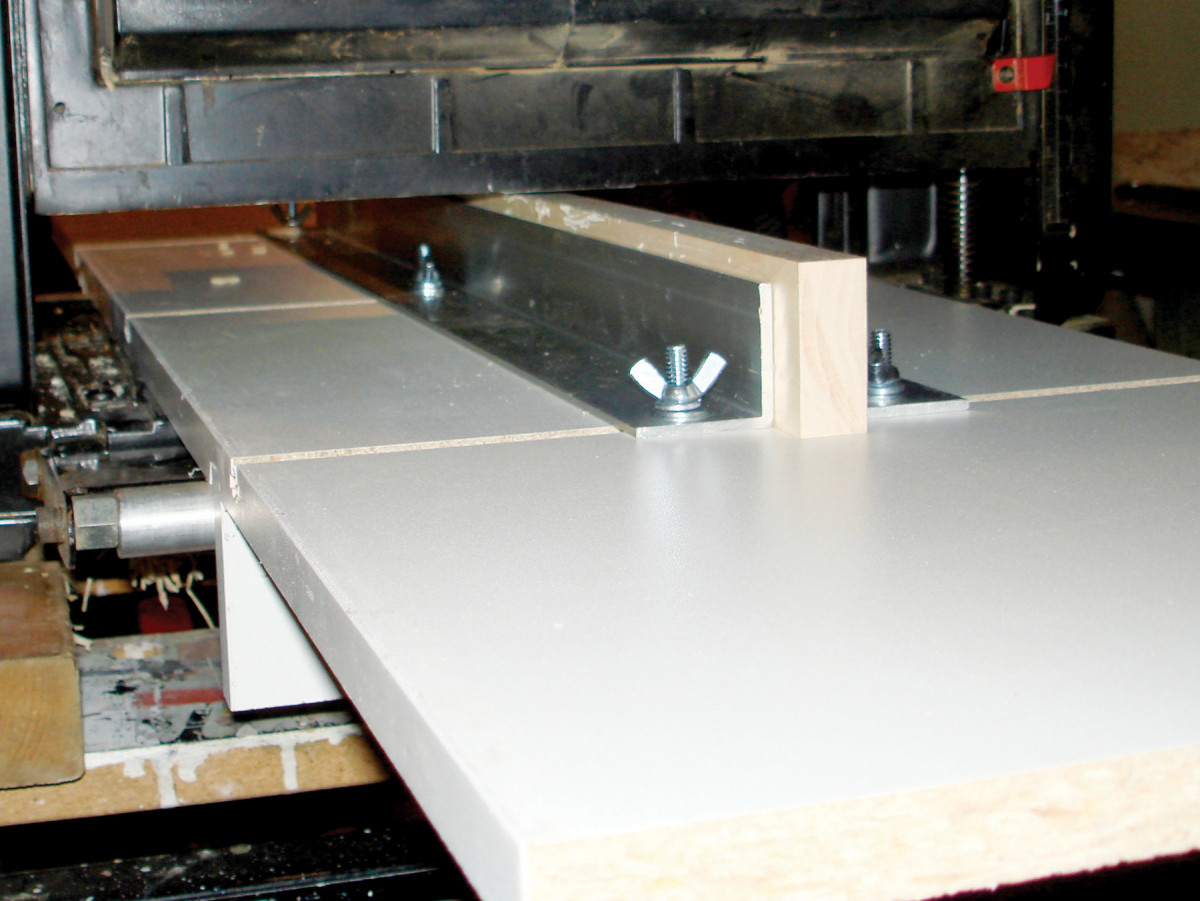
I’ve had trouble making square and smooth edges on face frame parts, but this planer jig solved all my problems. It produces accurate and consistent results. For the jig’s base, cut T-slots in a 3/4” x 11” board that’s a little bit longer than the planer’s bed and extension tables. Use T-bolts and wing nuts to fasten two 1-1/2” x 1-1/2” aluminum angles to the jig. Adjust the angles to fit tight around your board. Clamp the jig to the planer’s bed, then feed your stock between the angles. Use smaller or larger angles for different widths of stock, being careful to ensure your planer knives come nowhere near the angles’ top edges. —Douglas MacKay
Here are some supplies and tools we find essential in our everyday work around the shop. We may receive a commission from sales referred by our links; however, we have carefully selected these products for their usefulness and quality.


